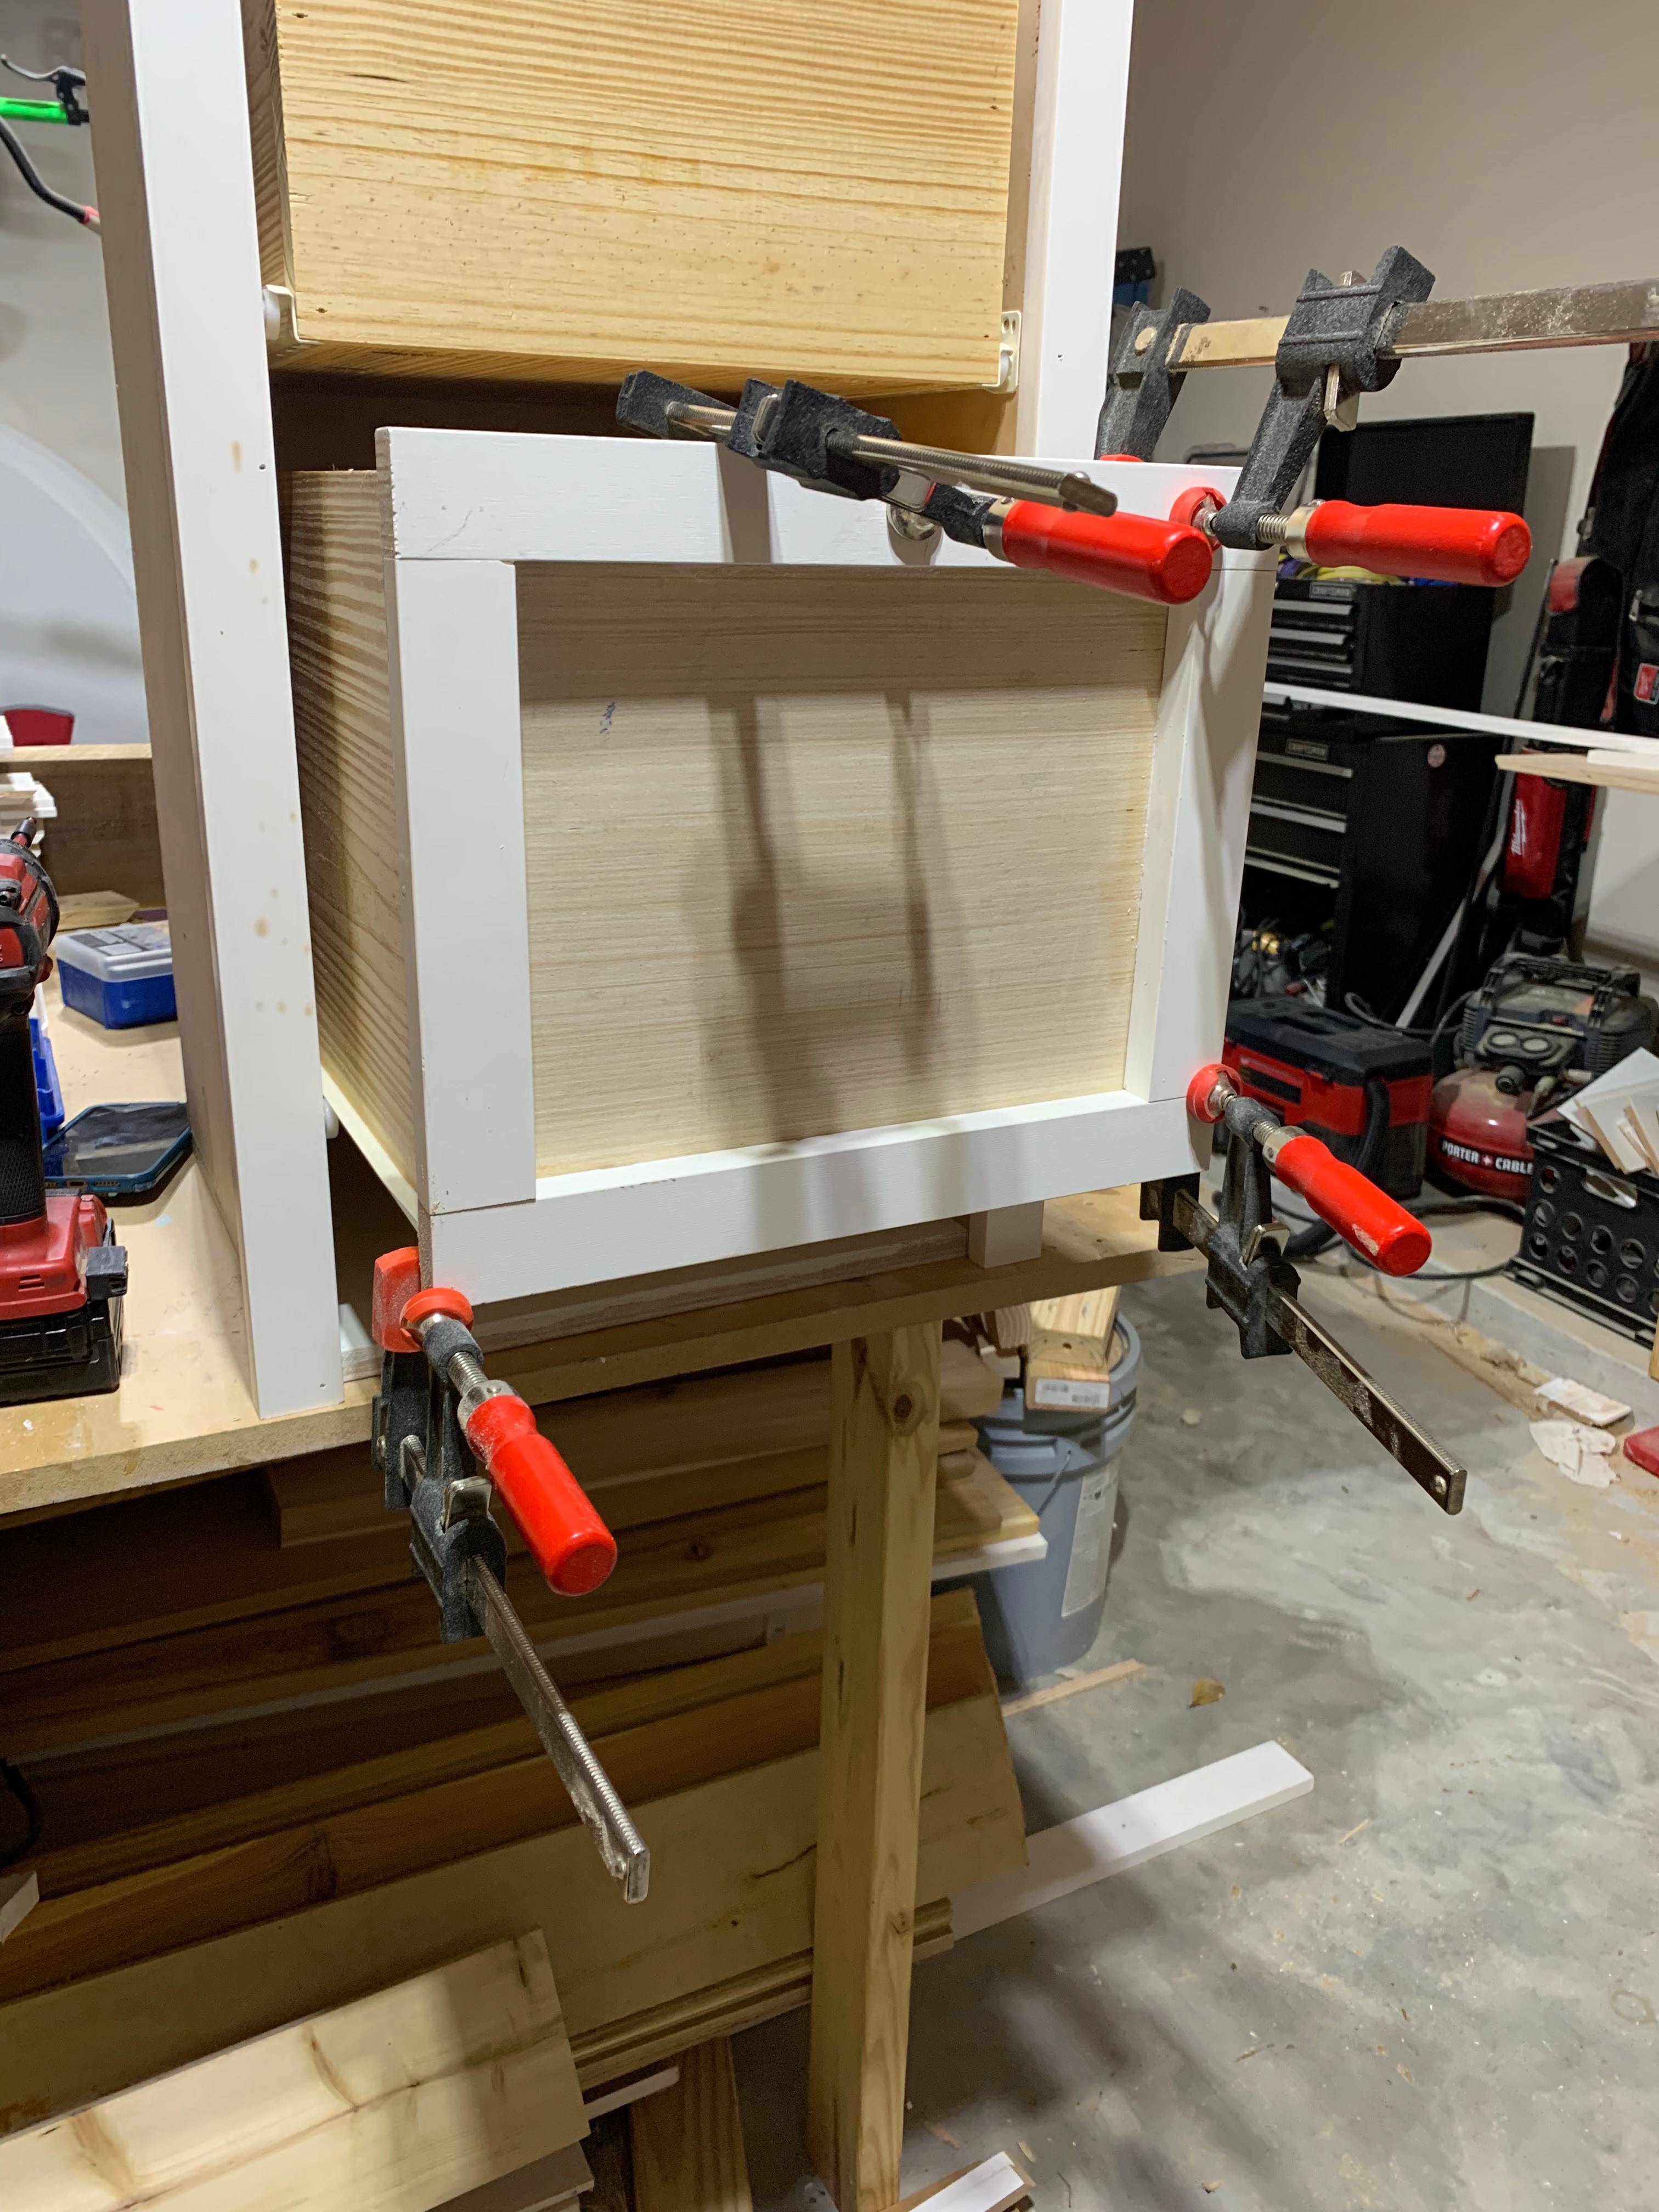
So I like to say my husband has taught me quite a few things with DIY which led me to fall in love with tools, his garage and wood. Anyways I am so proud of myself making these shaker style drawers all by myself.. they came out perfect!
I decided to redecorate my son, James’ bedroom. I really never decorated it when we moved in but now I am ready to conquer this room! Decorating for me isn’t ONLY changing bedspreads, curtain, rugs and wall art, it is the whole enchilada. I need wood added in there, window trim, built in shelves added, decorating to me includes all of this!
The first project in my son’s room is a built in desk. James room is still a work in progress but definitely want to put out this shaker drawer tutorial, super easy! I will do the best I can with step by step instructions.

Experience Level : EASY
Tool List
- Miter Saw
- Measuring Tape
- Square
- Kreg jig but you can also get by without this
- Drill
- Screws (screw size depends on wood thickness you choose)
- Clamps
- Wood Glue
- Goggles
- Nail gun
- 1″ brad nails
Supply List
*My supply list might be different than yours, I used what I had on hand and you are able to choose whatever material you want to use.
- 1x2x8 wood stiles
- 1×12 Pine boards
- cabinet paneling (optional)
STEP 1: You must figure out the size of drawers you want. My two drawers are different sizes, both at 12″x13″(length&width) but one is 11″ in height and the smaller one is 8″ in height. Cut your wood and label them with sizes or top &bottom, left or right side, interior or exterior. This helps keep you from mixing sides up or in my case Kreg Jigging the wrong side. * I would hold off on cutting the back&front until you reach step 6, unless your a genius with measuring well then go right on ahead 🙂


STEP 2: Next you want to grab your wood pieces that will act as the bottom of the drawer and we are going to use the Kreg Jig to make holes so we can drill screws into them. Of course there are other options out there but this was the easy mom option for me. *If you have a preference of what bottom side is going to be on the interior of the drawer, the part you are able to see, right now is the time to label it or be very aware of which side your going to be drilling into.
Step 3: After all Kreg jig holes have been made, I made 3 holes on each side of the bottom piece to make sure my drawer can handle a heavy load of toys or anything else my son might throw in there. We are going to lay our bottom piece on a flat surface and grab one of the sides(make sure you have the right side piece you want) add wood glue, and clamp side to bottom. Pictured above right.
Step 4: After making sure your piece is squared and clamps are tight into place you are ready to drill screws into your drawer. If you need instructions on how to work the Kreg Jig, YouTube has some great how-to videos. My pine wood was 3/4 inch thick so I used Kreg jig 1″1/4 screws. The Kreg Jig Screw box that I have gives a pretty good guide on what screws to use for what thickness wood you have.
Step 5: You will repeat step 4 with other side. Should look like the picture below.
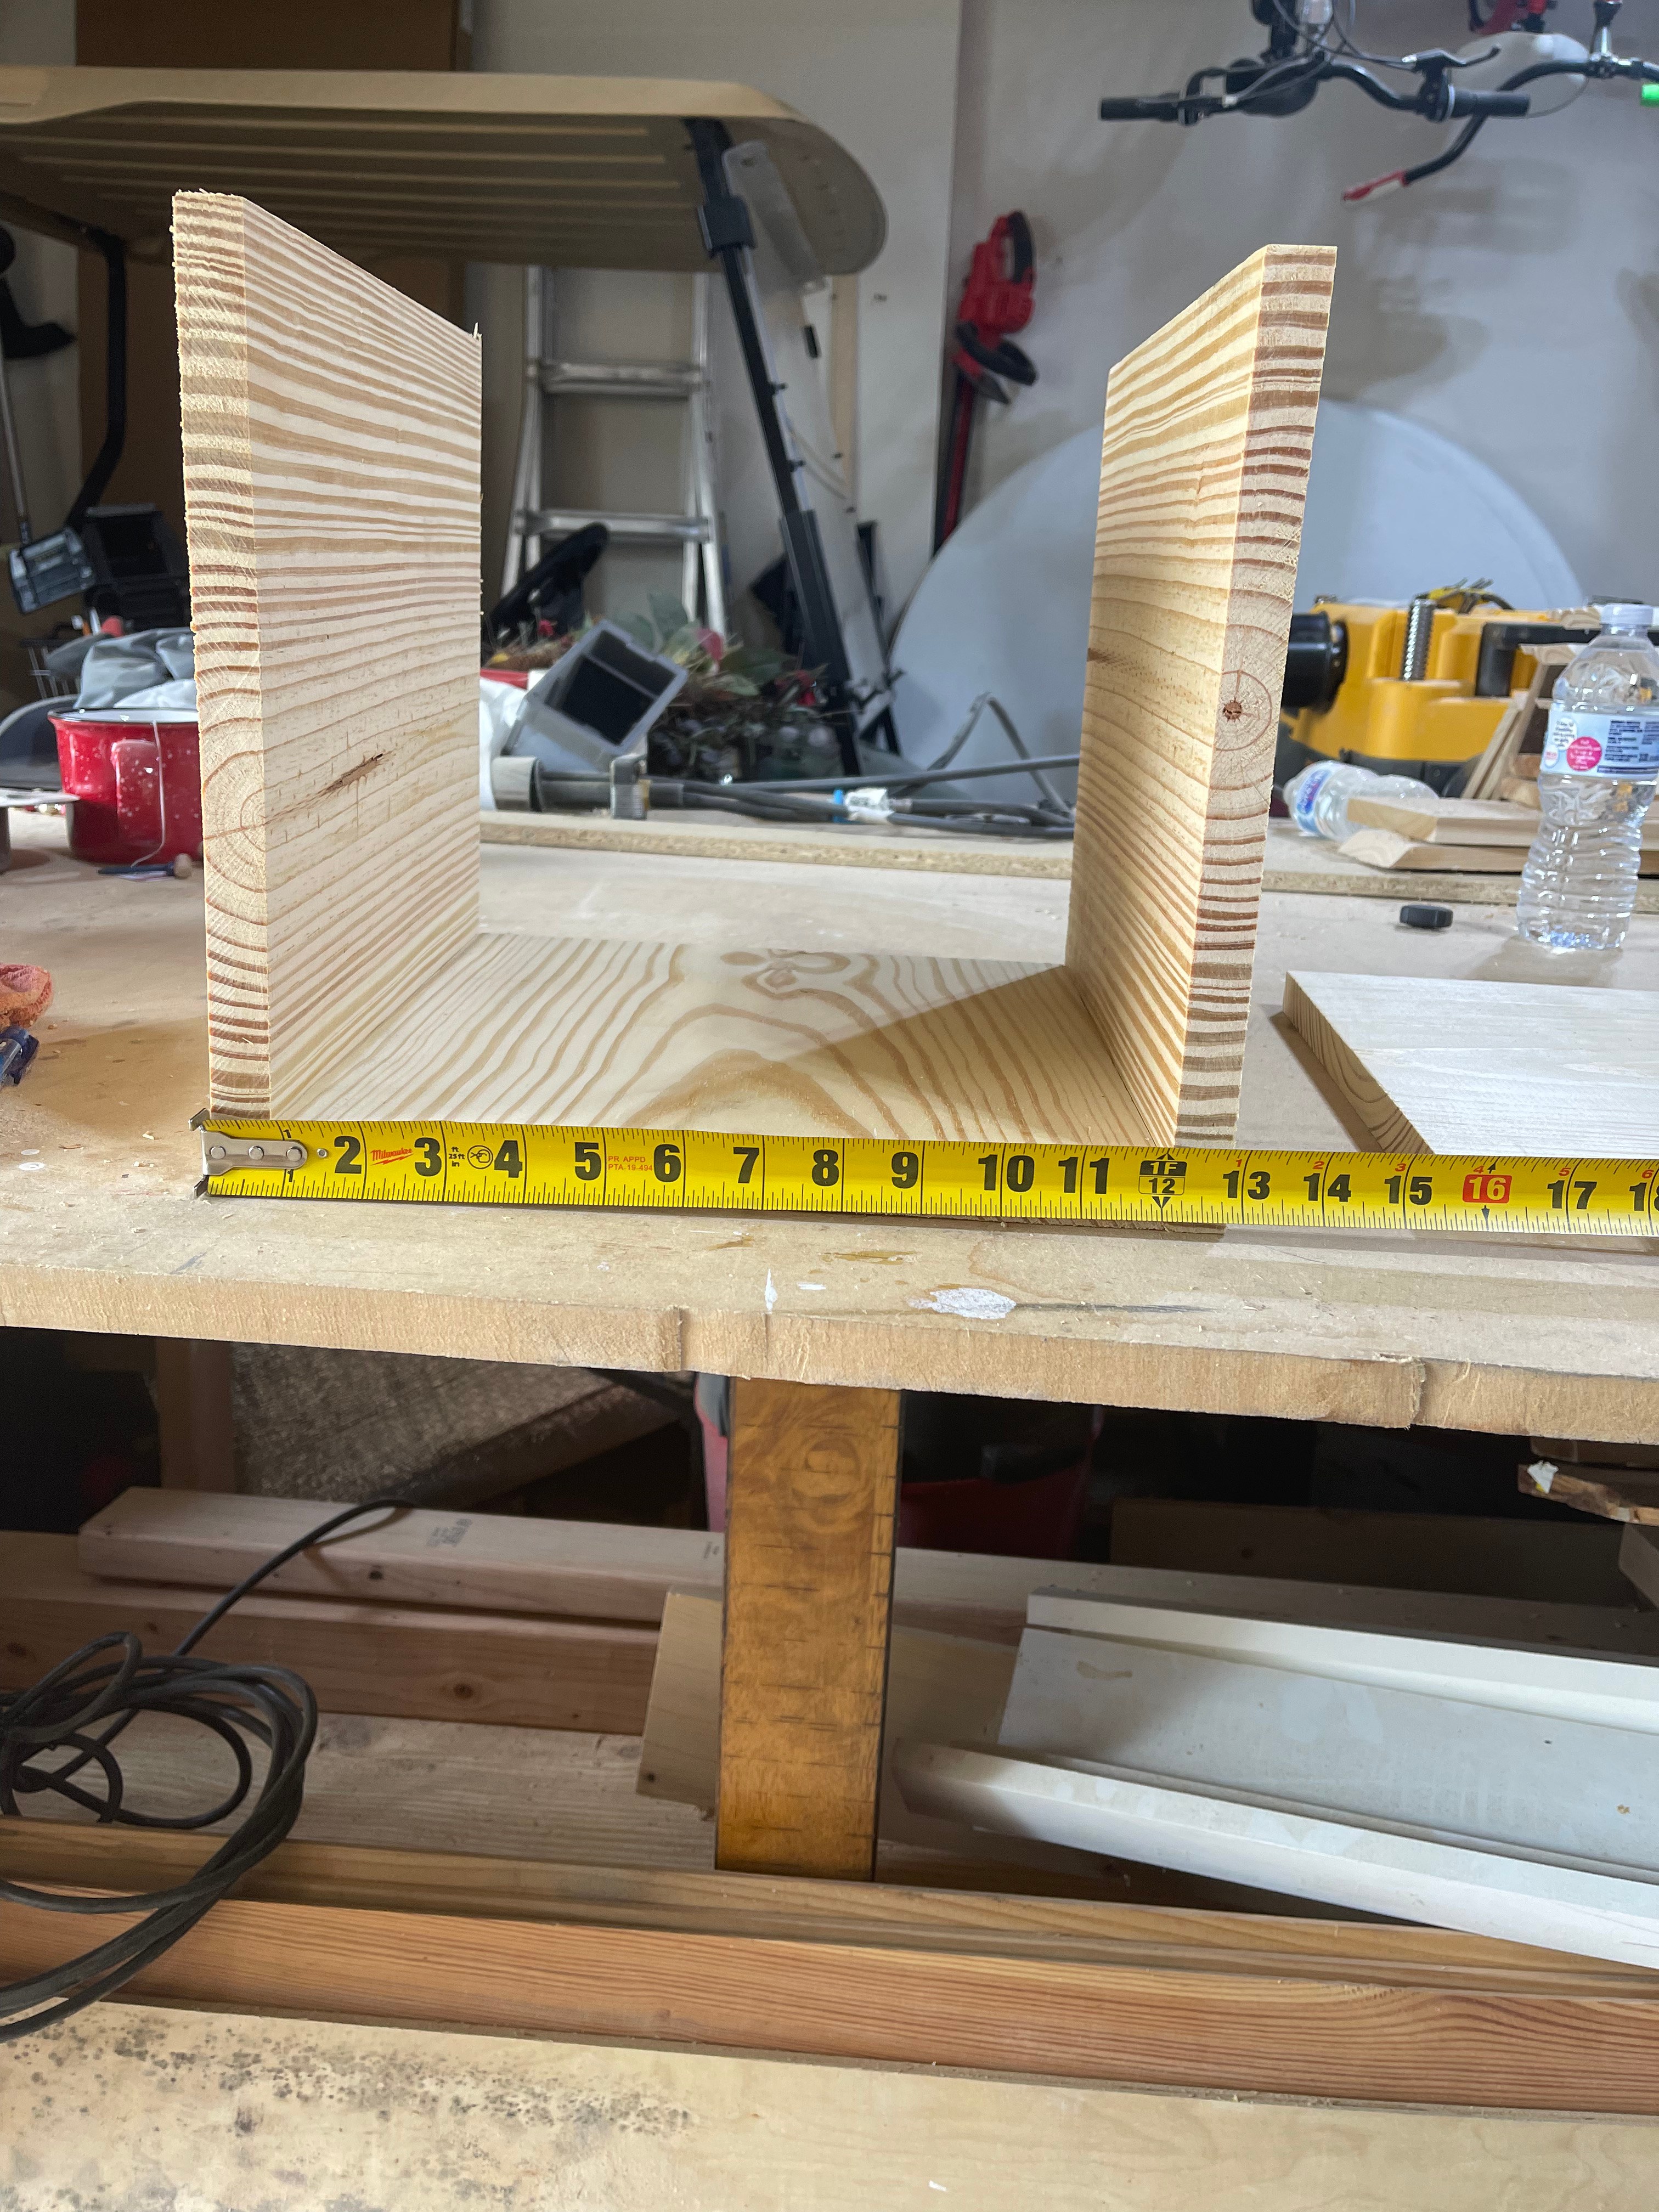
STEP 6: The back side is next. For cutting the back piece you must include the two sides when measuring so you know what size back you will be aiming for , unless you plan for the back to go in between the two sides. in my case I had my back on the outside of the two sides. At this time you can cut the same size piece for your front.
Step 7: After cutting your piece and double checking making sure all measurements are correct you should grab your square and make sure your sides and back line up straight (pictured below). Then we can wood glue and clamp.
Step 8: After clamping I ended up using my nail gun for this part. I basically just nailed in the back to the sides, be careful if you go this route if not lined properly nails can come out on the sides. Another option for this is taking a countersink drill bit and and then using screws to screw the back into place. When either option is done should look something like this right below.

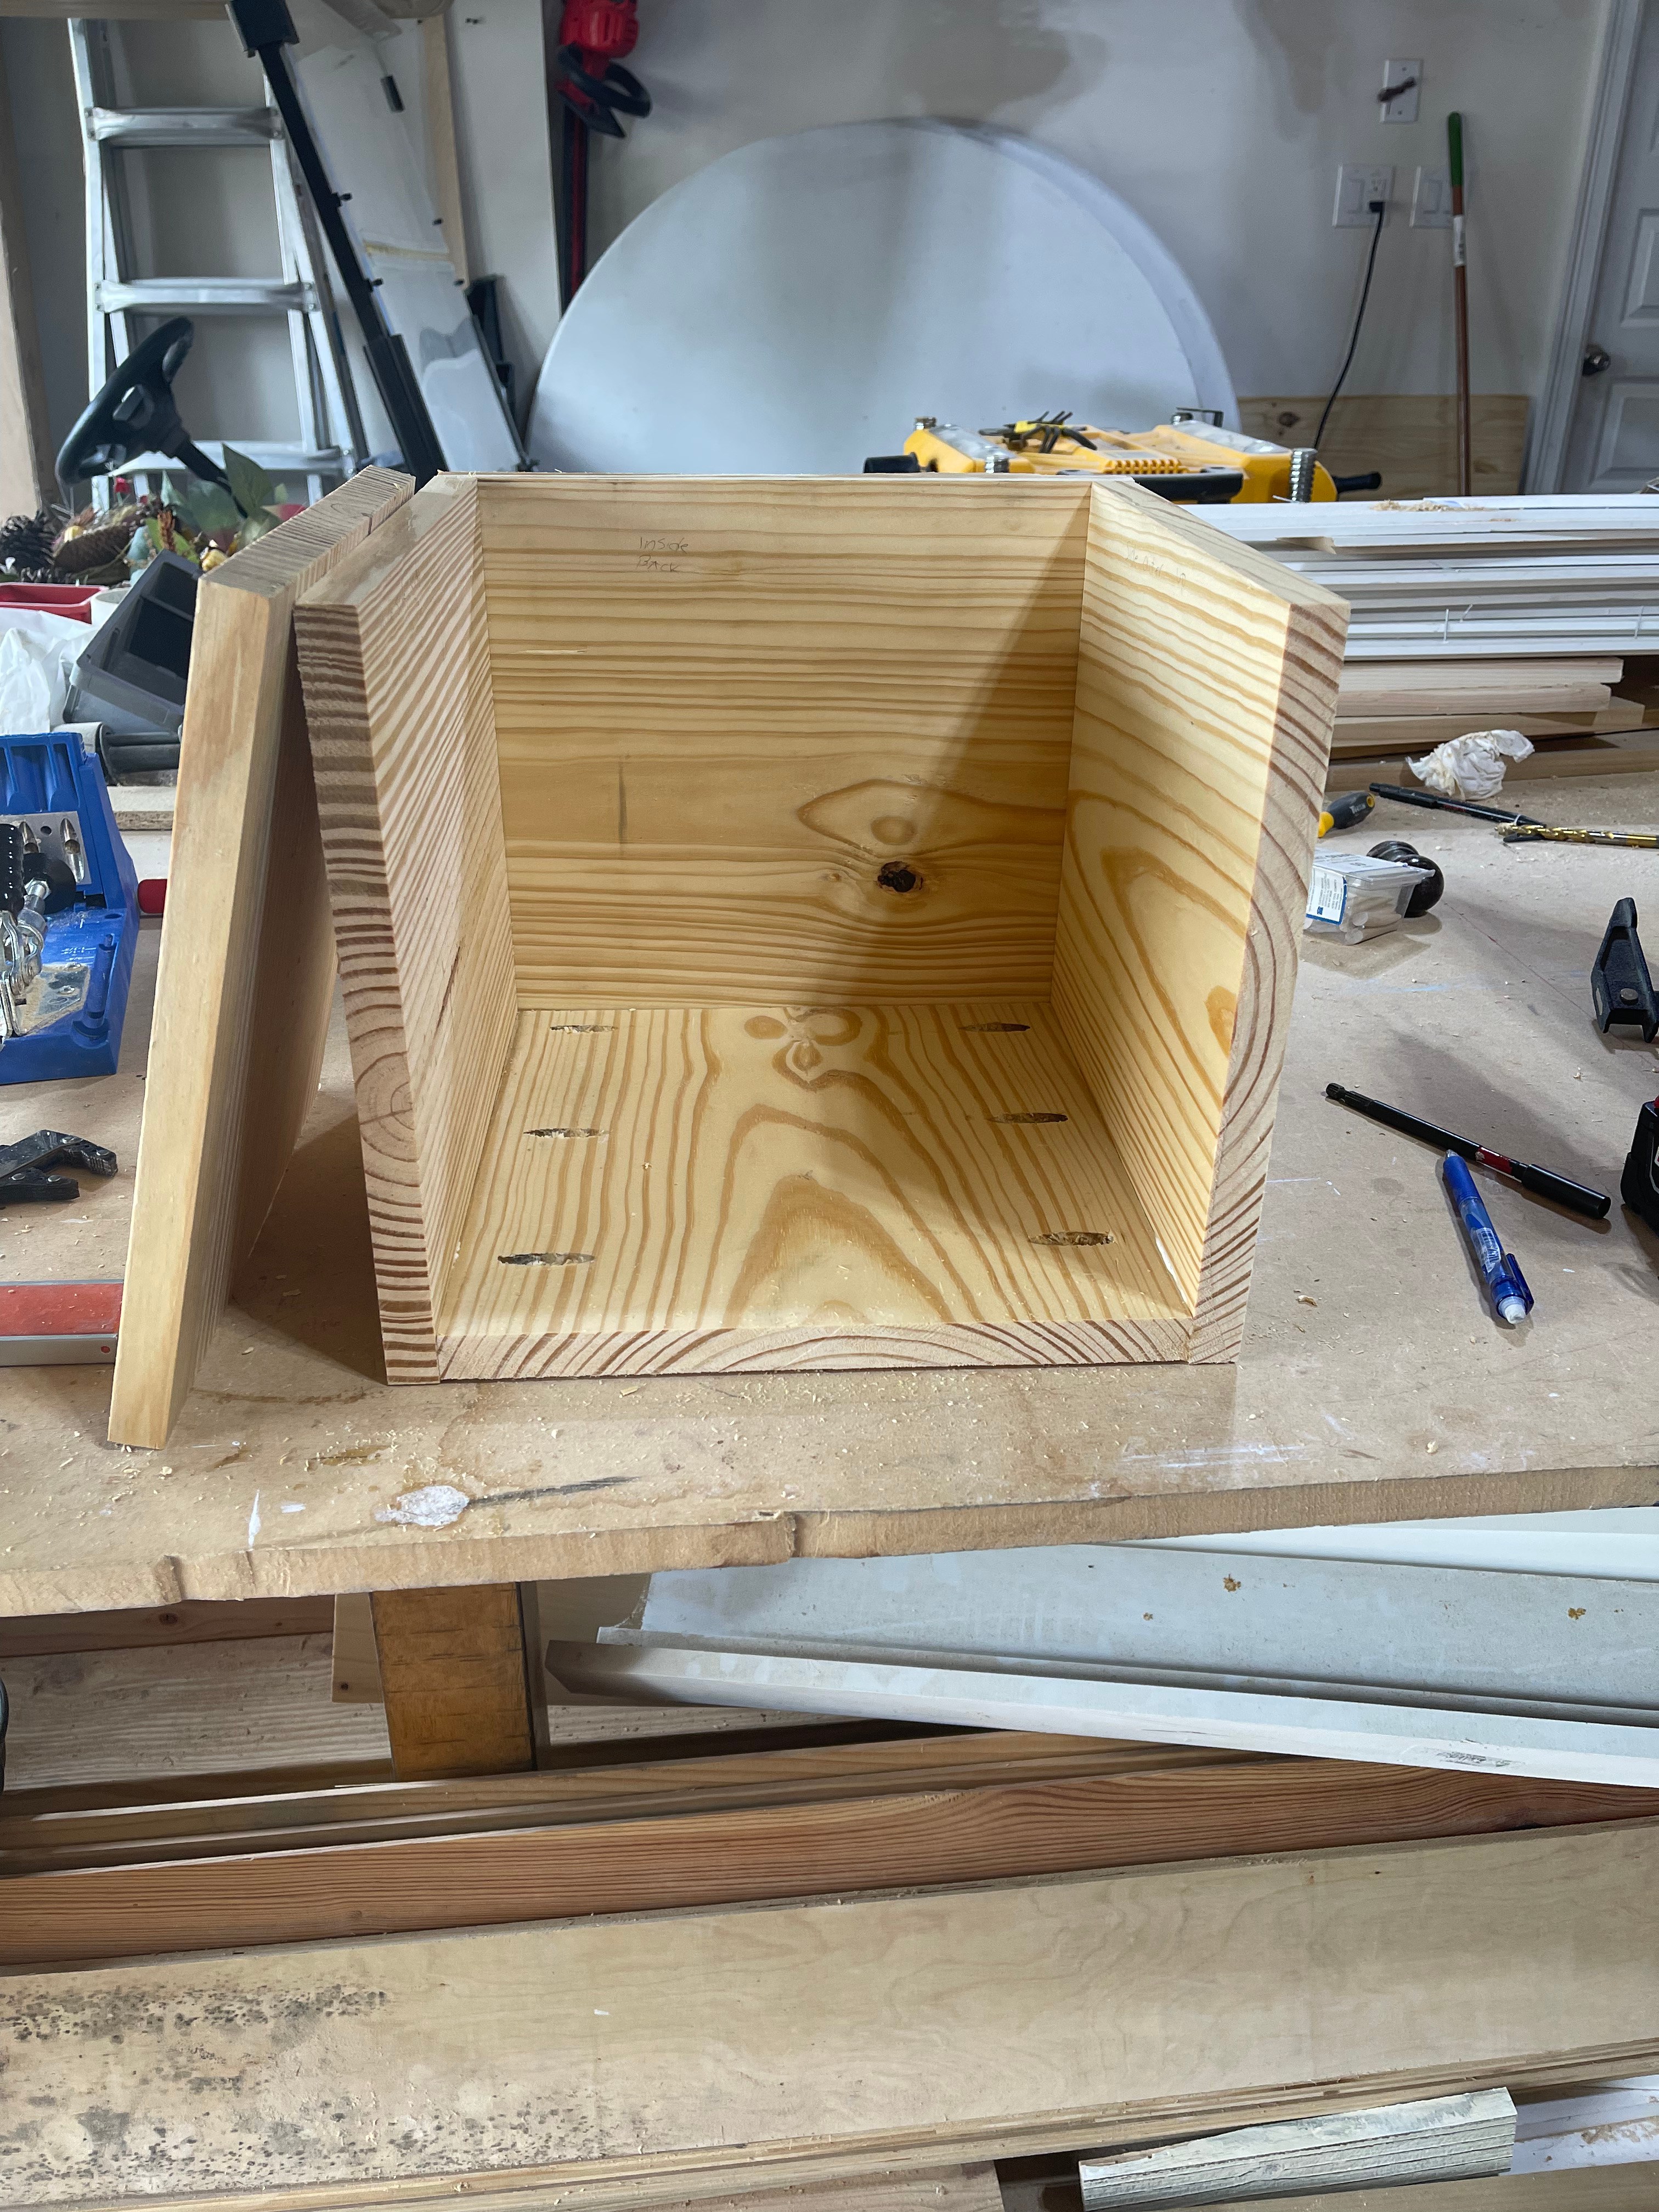
Step 9: It is time to attach the front! When attaching the front I do not recommend using a nail gun for this you want to use a countersinking bit with your drill and wood screws. Since the front will be getting pulled and pushed on the most we want to make sure it never comes off.
Step 10: I wish I had a picture to show for this but I sadly don’t. If you have questions on this next part send me a comment and I will go and make an example for you. On your front piece mark 3 holes on each side and pre drill your marks with the countersink drill bit.
Step 11: When you have completed your counter sinking holes, add wood glue, line up the front with the rest of the body and clamp.
Step 12: You are ready to drill in your screws at this point. Yay, you’ve got the shell of your drawer completed! Now lets make it shaker style!
Step 13: I used Cabinet paneling for this because I was a smooth texture for the front of my drawer because my wood was rough looking even after sanding. I wouldn’t of been able to paint it white and have a smooth finish, so if you got nice paintable wood you can skip this step and jump to step 17. Measure the face of your drawer and if you want the paneling to overlap a bit you can do that here as well.
Step 14: After measuring your cabinet paneling cut to your desired measurement.
Step15: Wood glue and clamp to cabinet face
Step 16: We will use the nail gun on this step and we will nail this paneling to the drawer face.
Step 17: Lets grab our 1×2 stiles and measure out your sides and length of drawers and cut. Measure twice cut once, Now the two long sides (top and bottom) will be sitting on the two shorter sides. Look at picture below

Step 18: After cutting your pieces and having them placed where they are going to go, you can use your handy dandy Kreg Jig and make holes on ONLY the two shorter sides (as pictured to the left) *Make sure when you flip your stile in the Kreg Jig you are making holes on the same exact side.
Step: 19 Next you can add wood glue and clamp all stiles together.
Step20: After clamping you can use your drill to screw in you 1″1/4 screws into your pocket holes. You have completed you shaker frame.
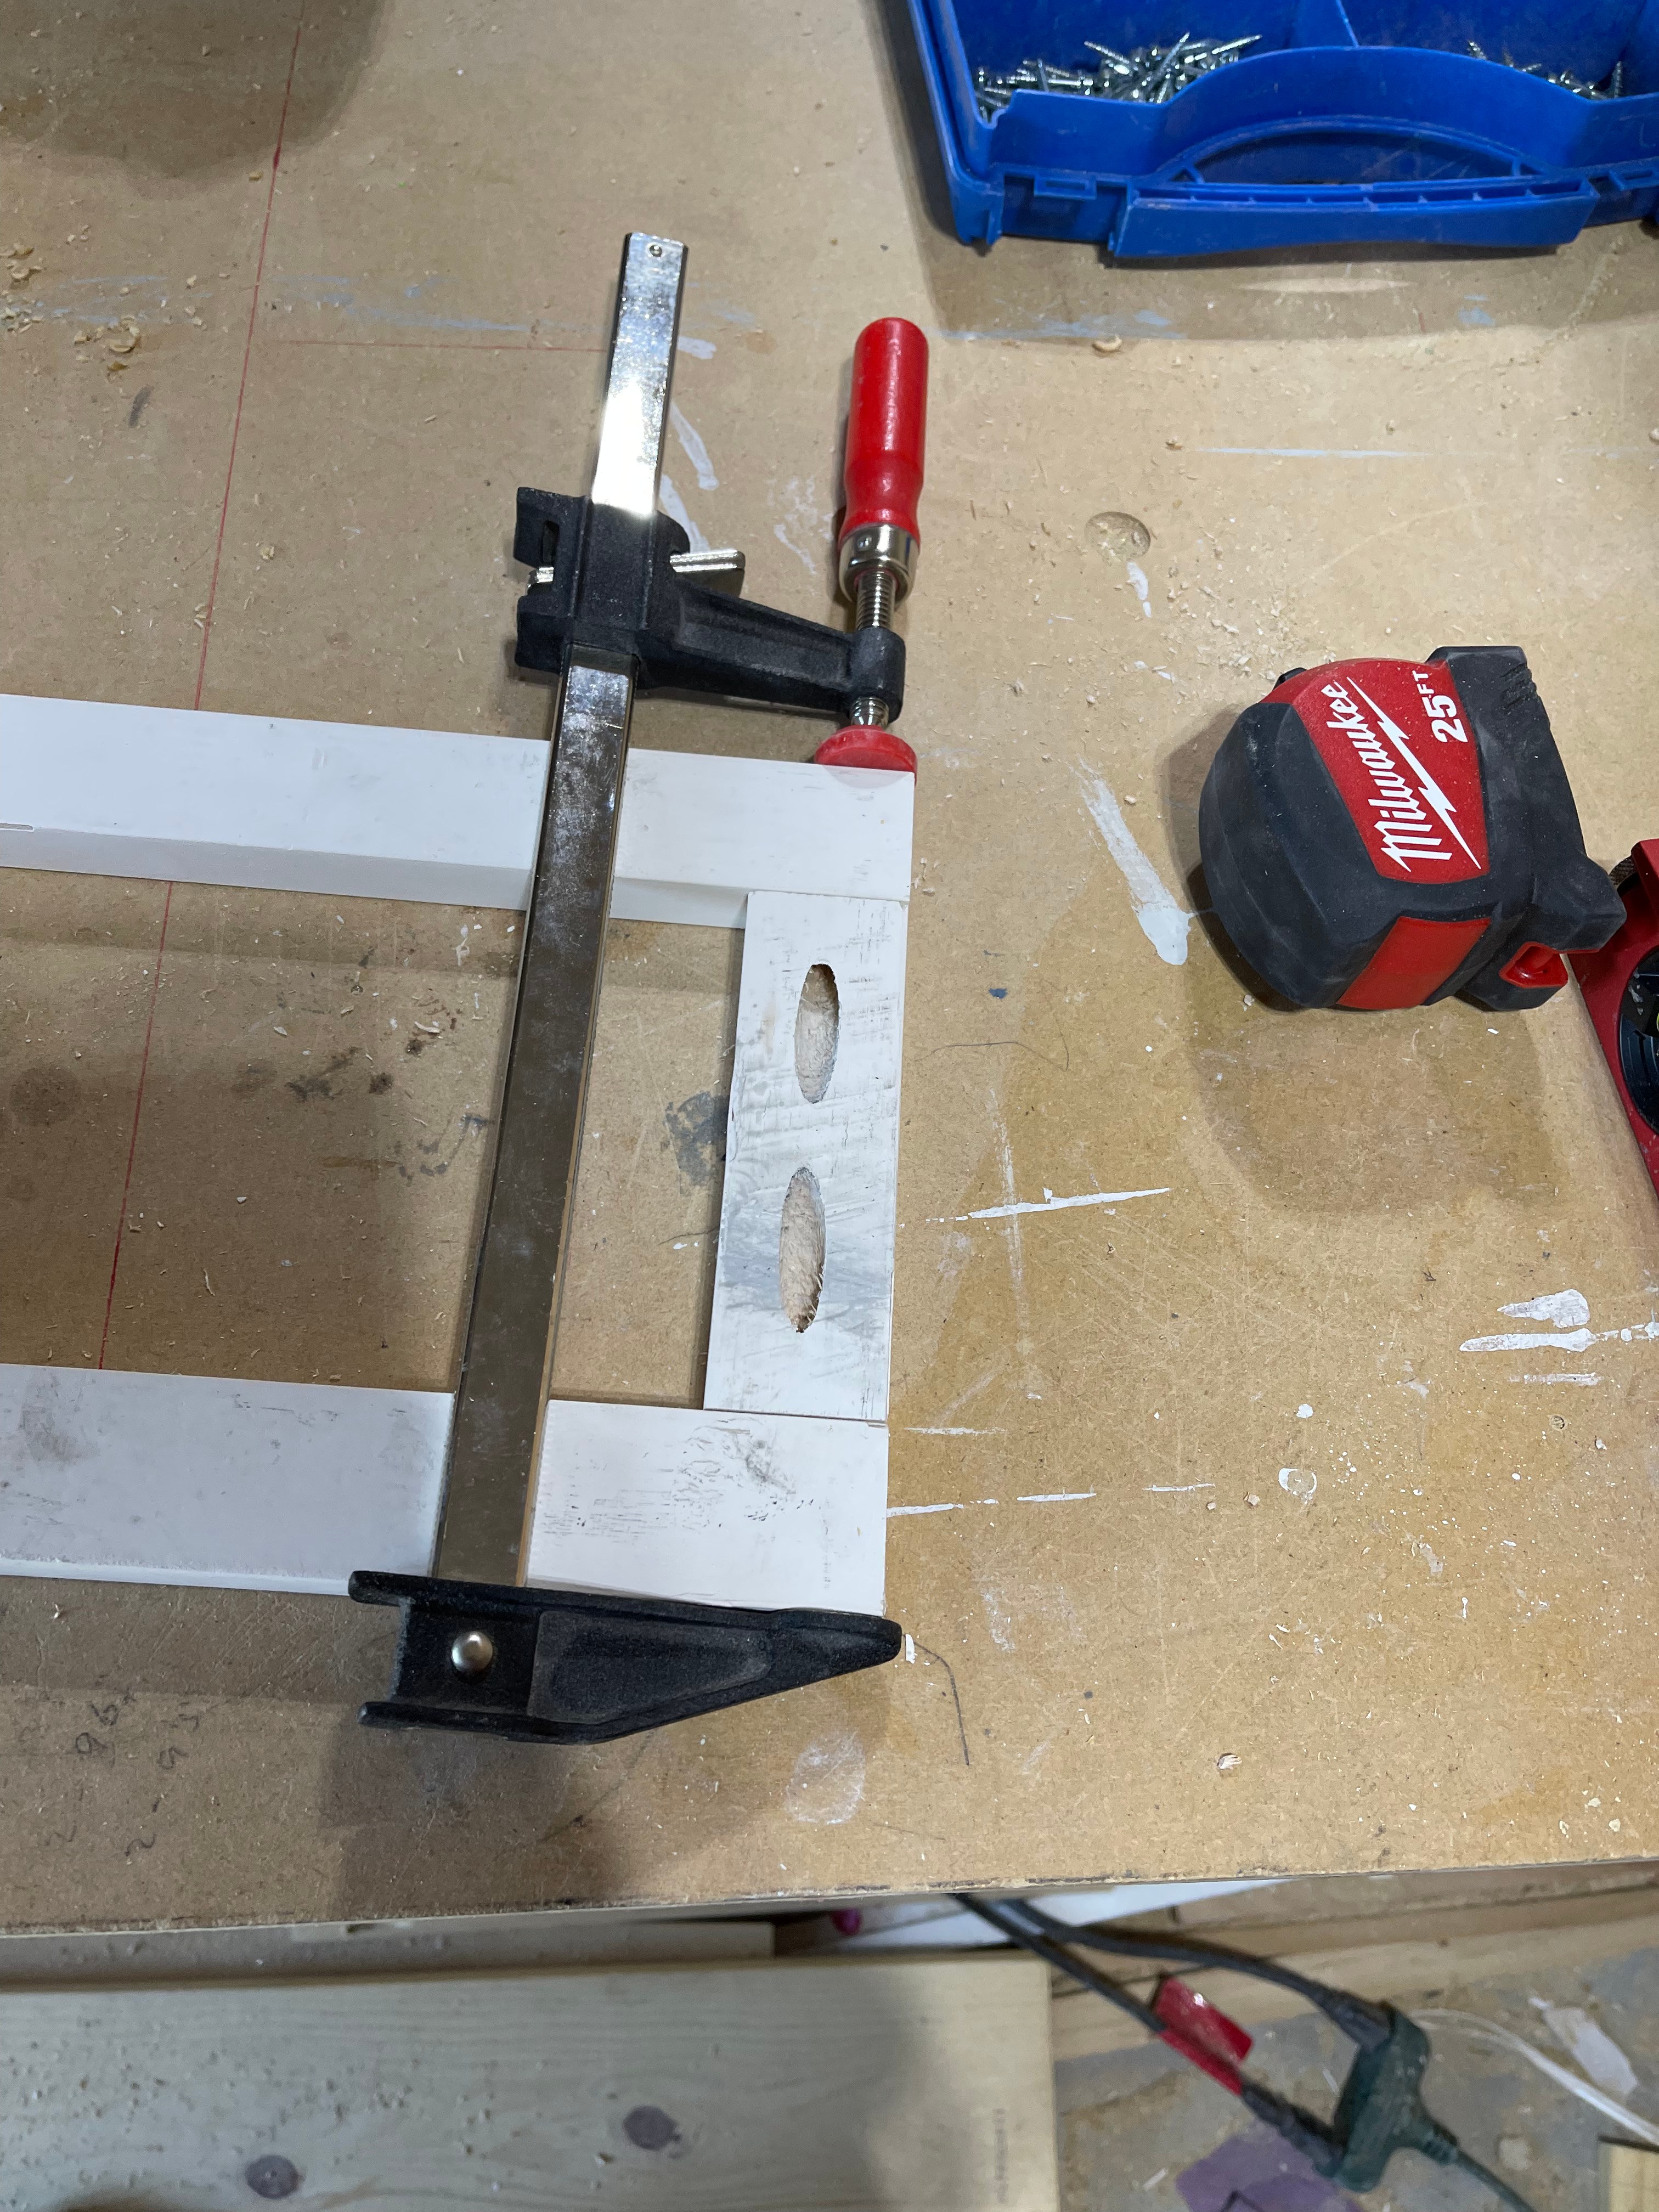
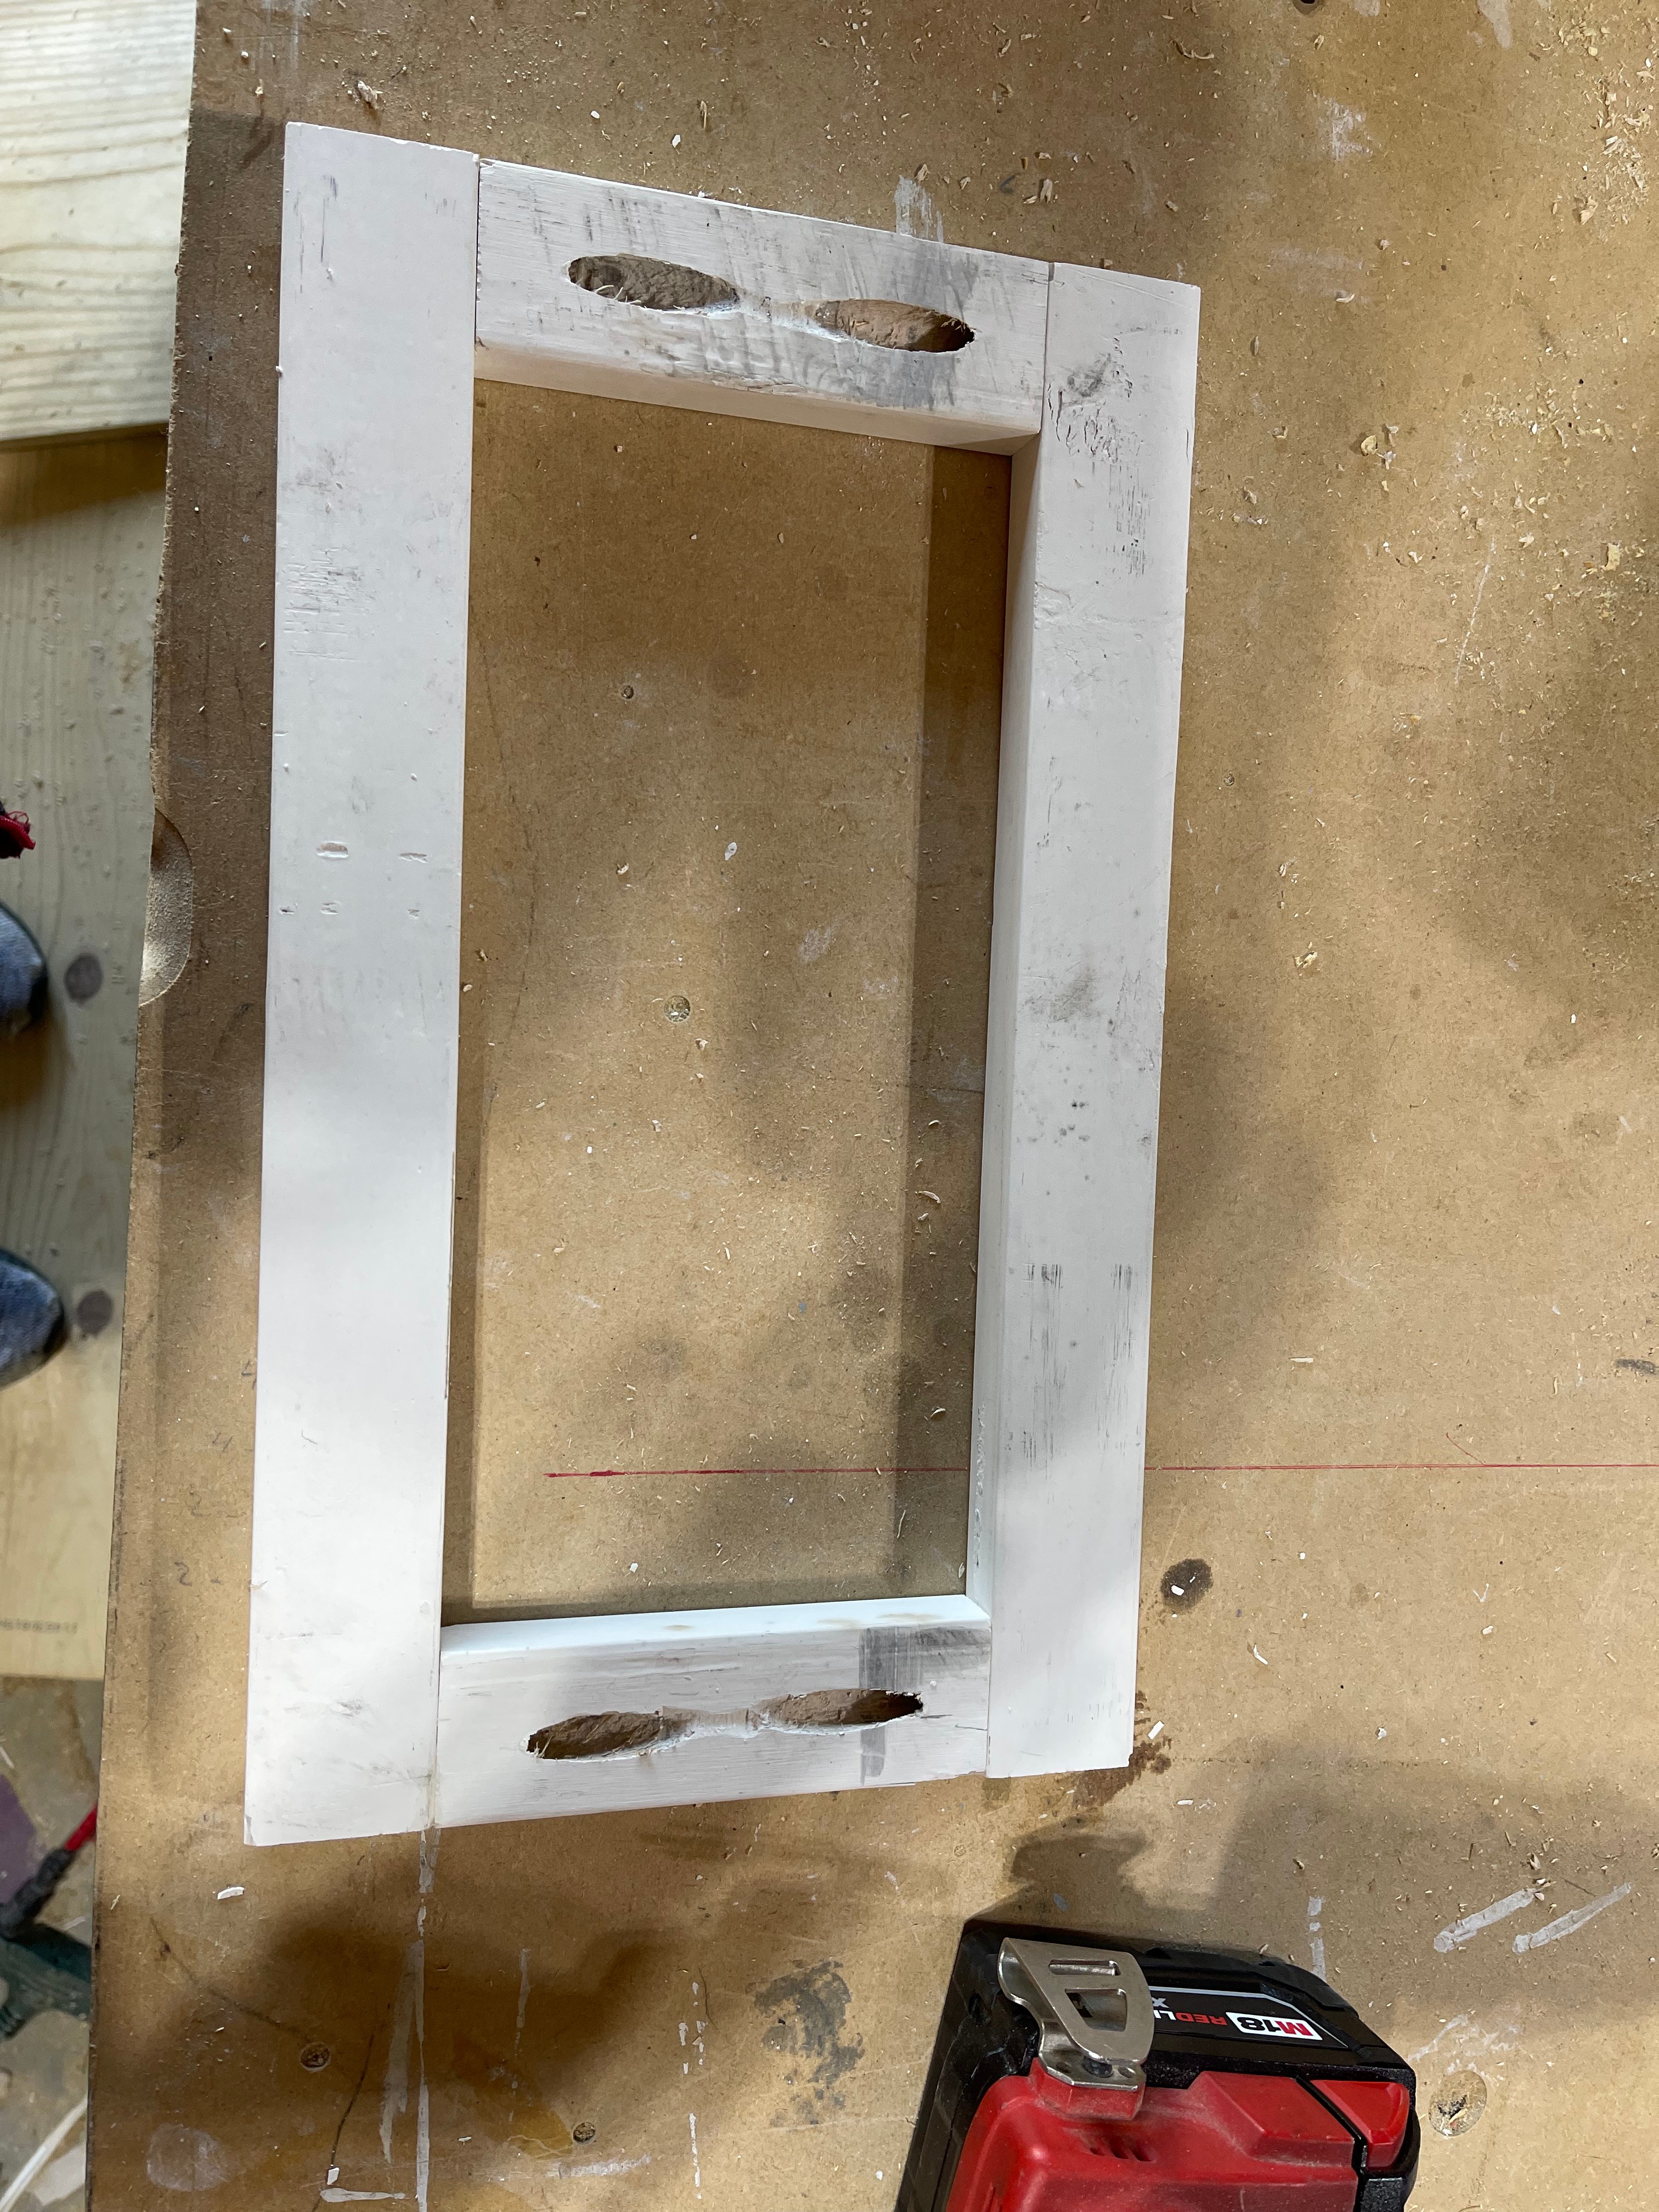

Step 21: We must attached the frame to the face of the drawer. There are two ways to do this, First way would be wood glue and clamps, this is the way I used only because I didn’t want to see any nail holes, even with wood filler and sanding I feel like I can still manage to see. Second way is to use your nail gun.
Step22: I decided to use only nail glue and clamps and it worked out just perfect!
Step 23: I left my clamps on overnight since I started this project in the evening. You are finished. Repeat process for each drawer and each time the process will go by faster for you!
Of course you still have to sand, paint, add hardware. In case anyone wonders, I painted mine Super White by Benjamin Moore. Make it beautiful! Happy Building


