My husband and I always wanted that custom built home on a piece of land but that dream has always been a little far for us to reach , at least right now, hopefully one day. When home shopping we both wanted a new home so we had a home built in a subdivision in the suburbs of Houston, Texas. Problem with subdivision homes is they all look alike! We were able to choose our home options and upgrades but nothing is like a custom built home on a piece of land… I will just keep dreaming til then.
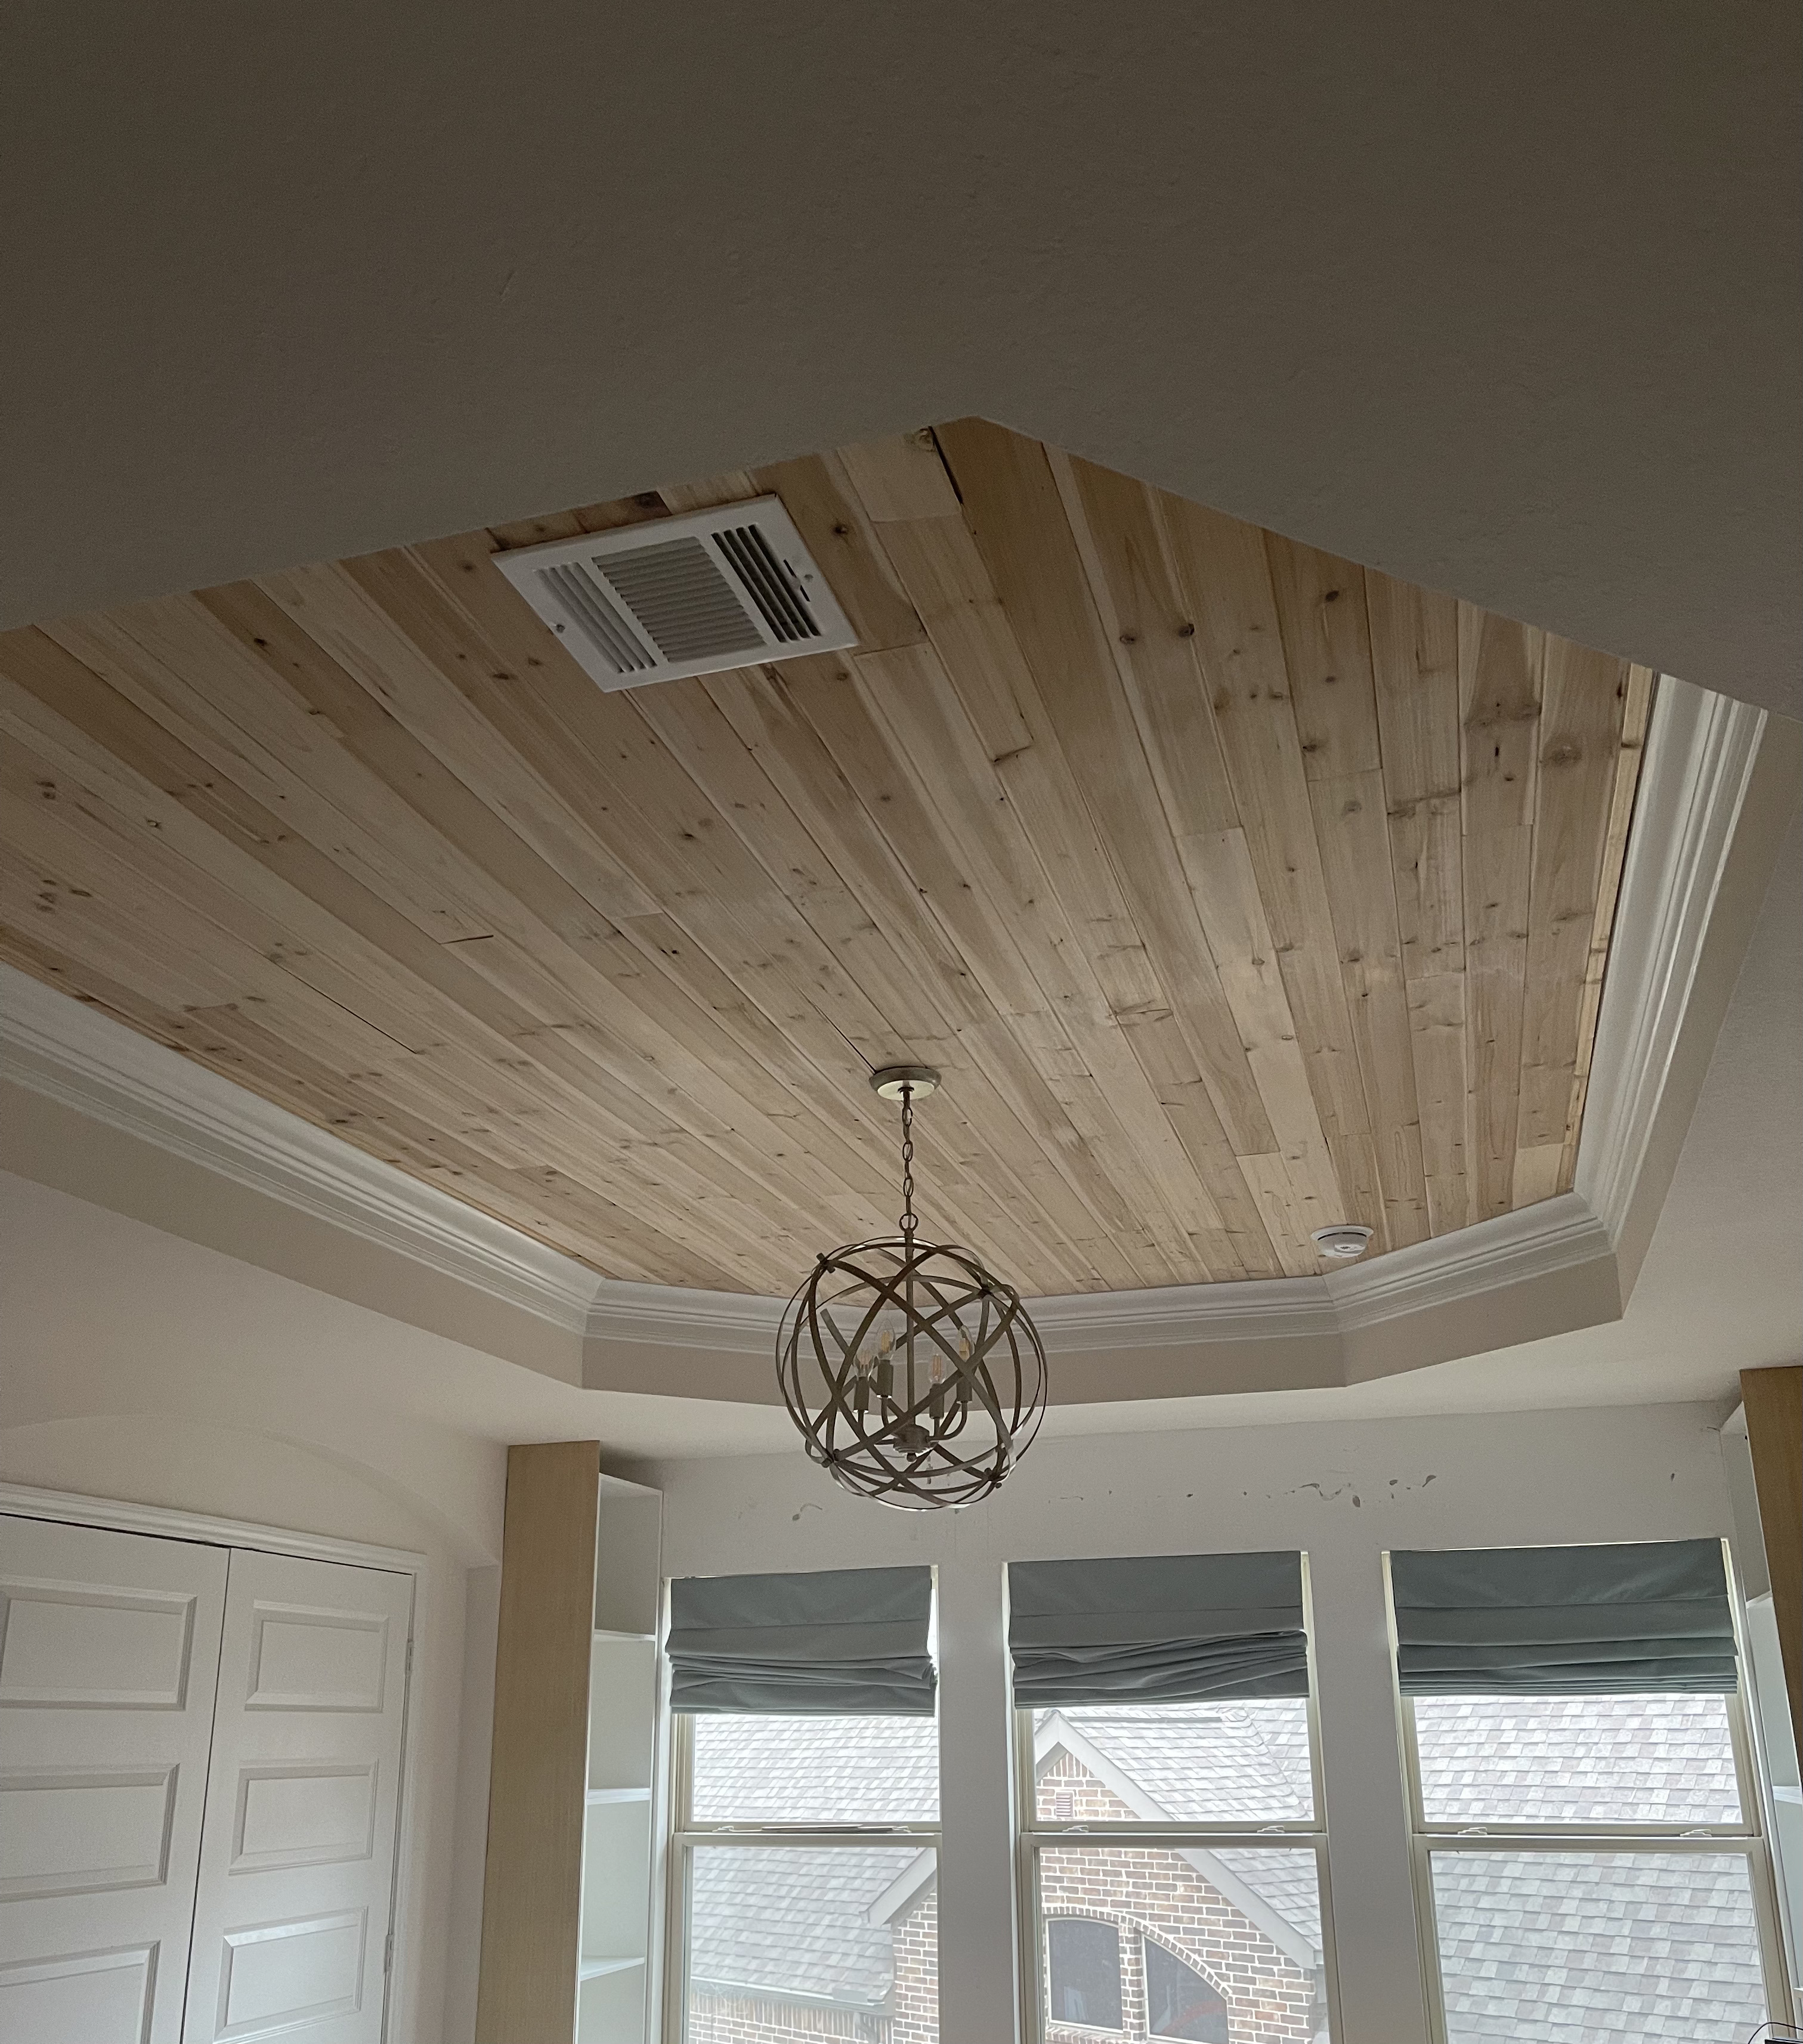
My mission with our home is to make it look less cookie cutter and more “custom” and sometimes little changes can make a HUGE difference. My cedar ceiling project was within our budget, it was less than 150$, and it looks like is cost more than that.
Pretty easy project to tackle, I would say since this is our family room upstairs the up and down from the ladder, and the stairs to go to the garage, and standing on the ladder looking up was probably the hardest thing about this project, oh and having a three year old hang out with me was for sure the hardest part. One of those days my watched tracked me at 68 flights of stairs. I kept telling myself it was a workout and be so excited to finish this is what kept me going.
This project took me about 3 days to complete but I know it could be done much faster without the distractions. After installing the cedar I used Miniwax Whitewash on it just to tone down that orange/golden hue that cedar gives. One other thing I must mention, the smell of cedar will be in your house for a little while but in my opinion it is such an amazing smell, I wouldn’t mind my house smelling like cedar everyday.
Overall this small project made such a huge difference in our family room, that room is still under DIY construction but for now I will provide you with as much instruction and photos I can of this DIY.
Experience: Easy/ Beginner
Tool/Supply List:
- Miter Saw
- Ladder
- Measuring Tape
- Safety Goggles
- Mallet/ Hammer
- Degree/angle measuring tool
- Nail Gun (18 gauge)
- Brad Nails
- Level
- Caulk
- Wood glue/liquid nails
- Cedar wood ( I bought the packs of cedar panels they sell at Home Depot by Home Decorators Collection)
- PATIENCE but you can’t buy this at Home Depot!
Project Process
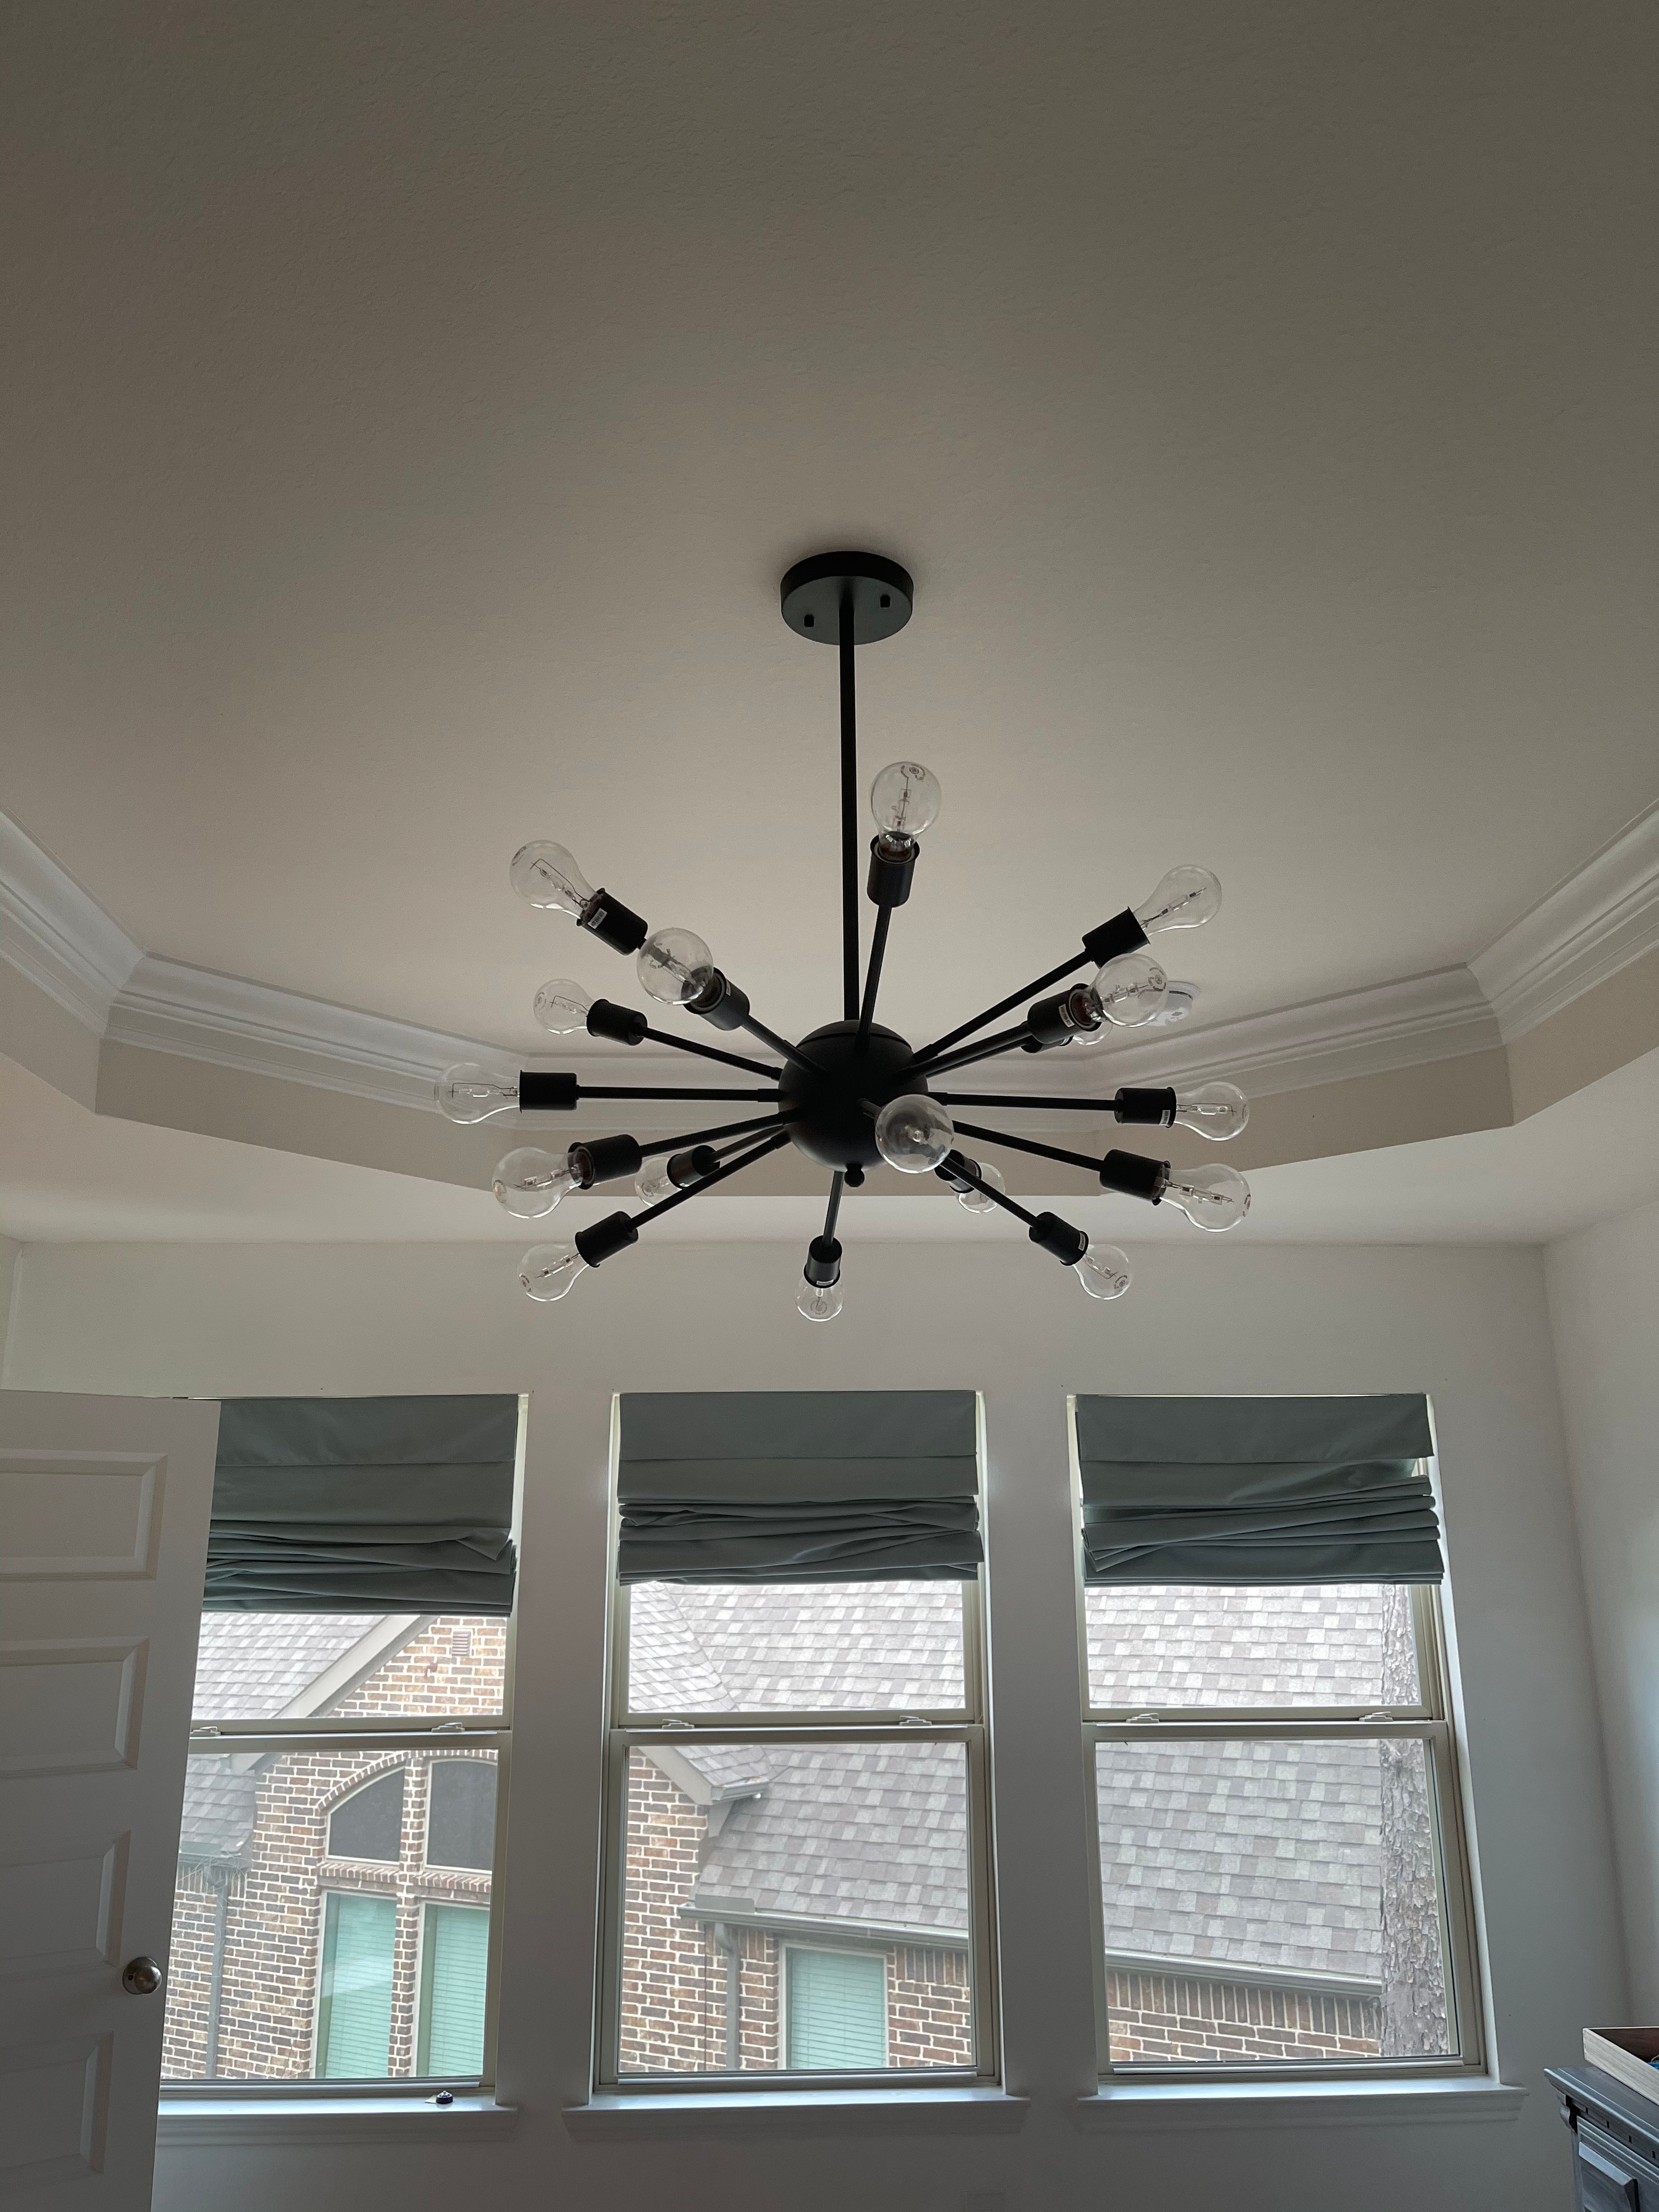
In the upstairs family room we have coffered ceilings so I decided to just to complete the recessed part of the coffered ceiling. After getting my material gathered, I had my husband take down the sputnik chandelier and said bye bye to it. I decided to work around the crown moulding to make things easier for me which I later regretted but really it just depends on the finished look your going for.

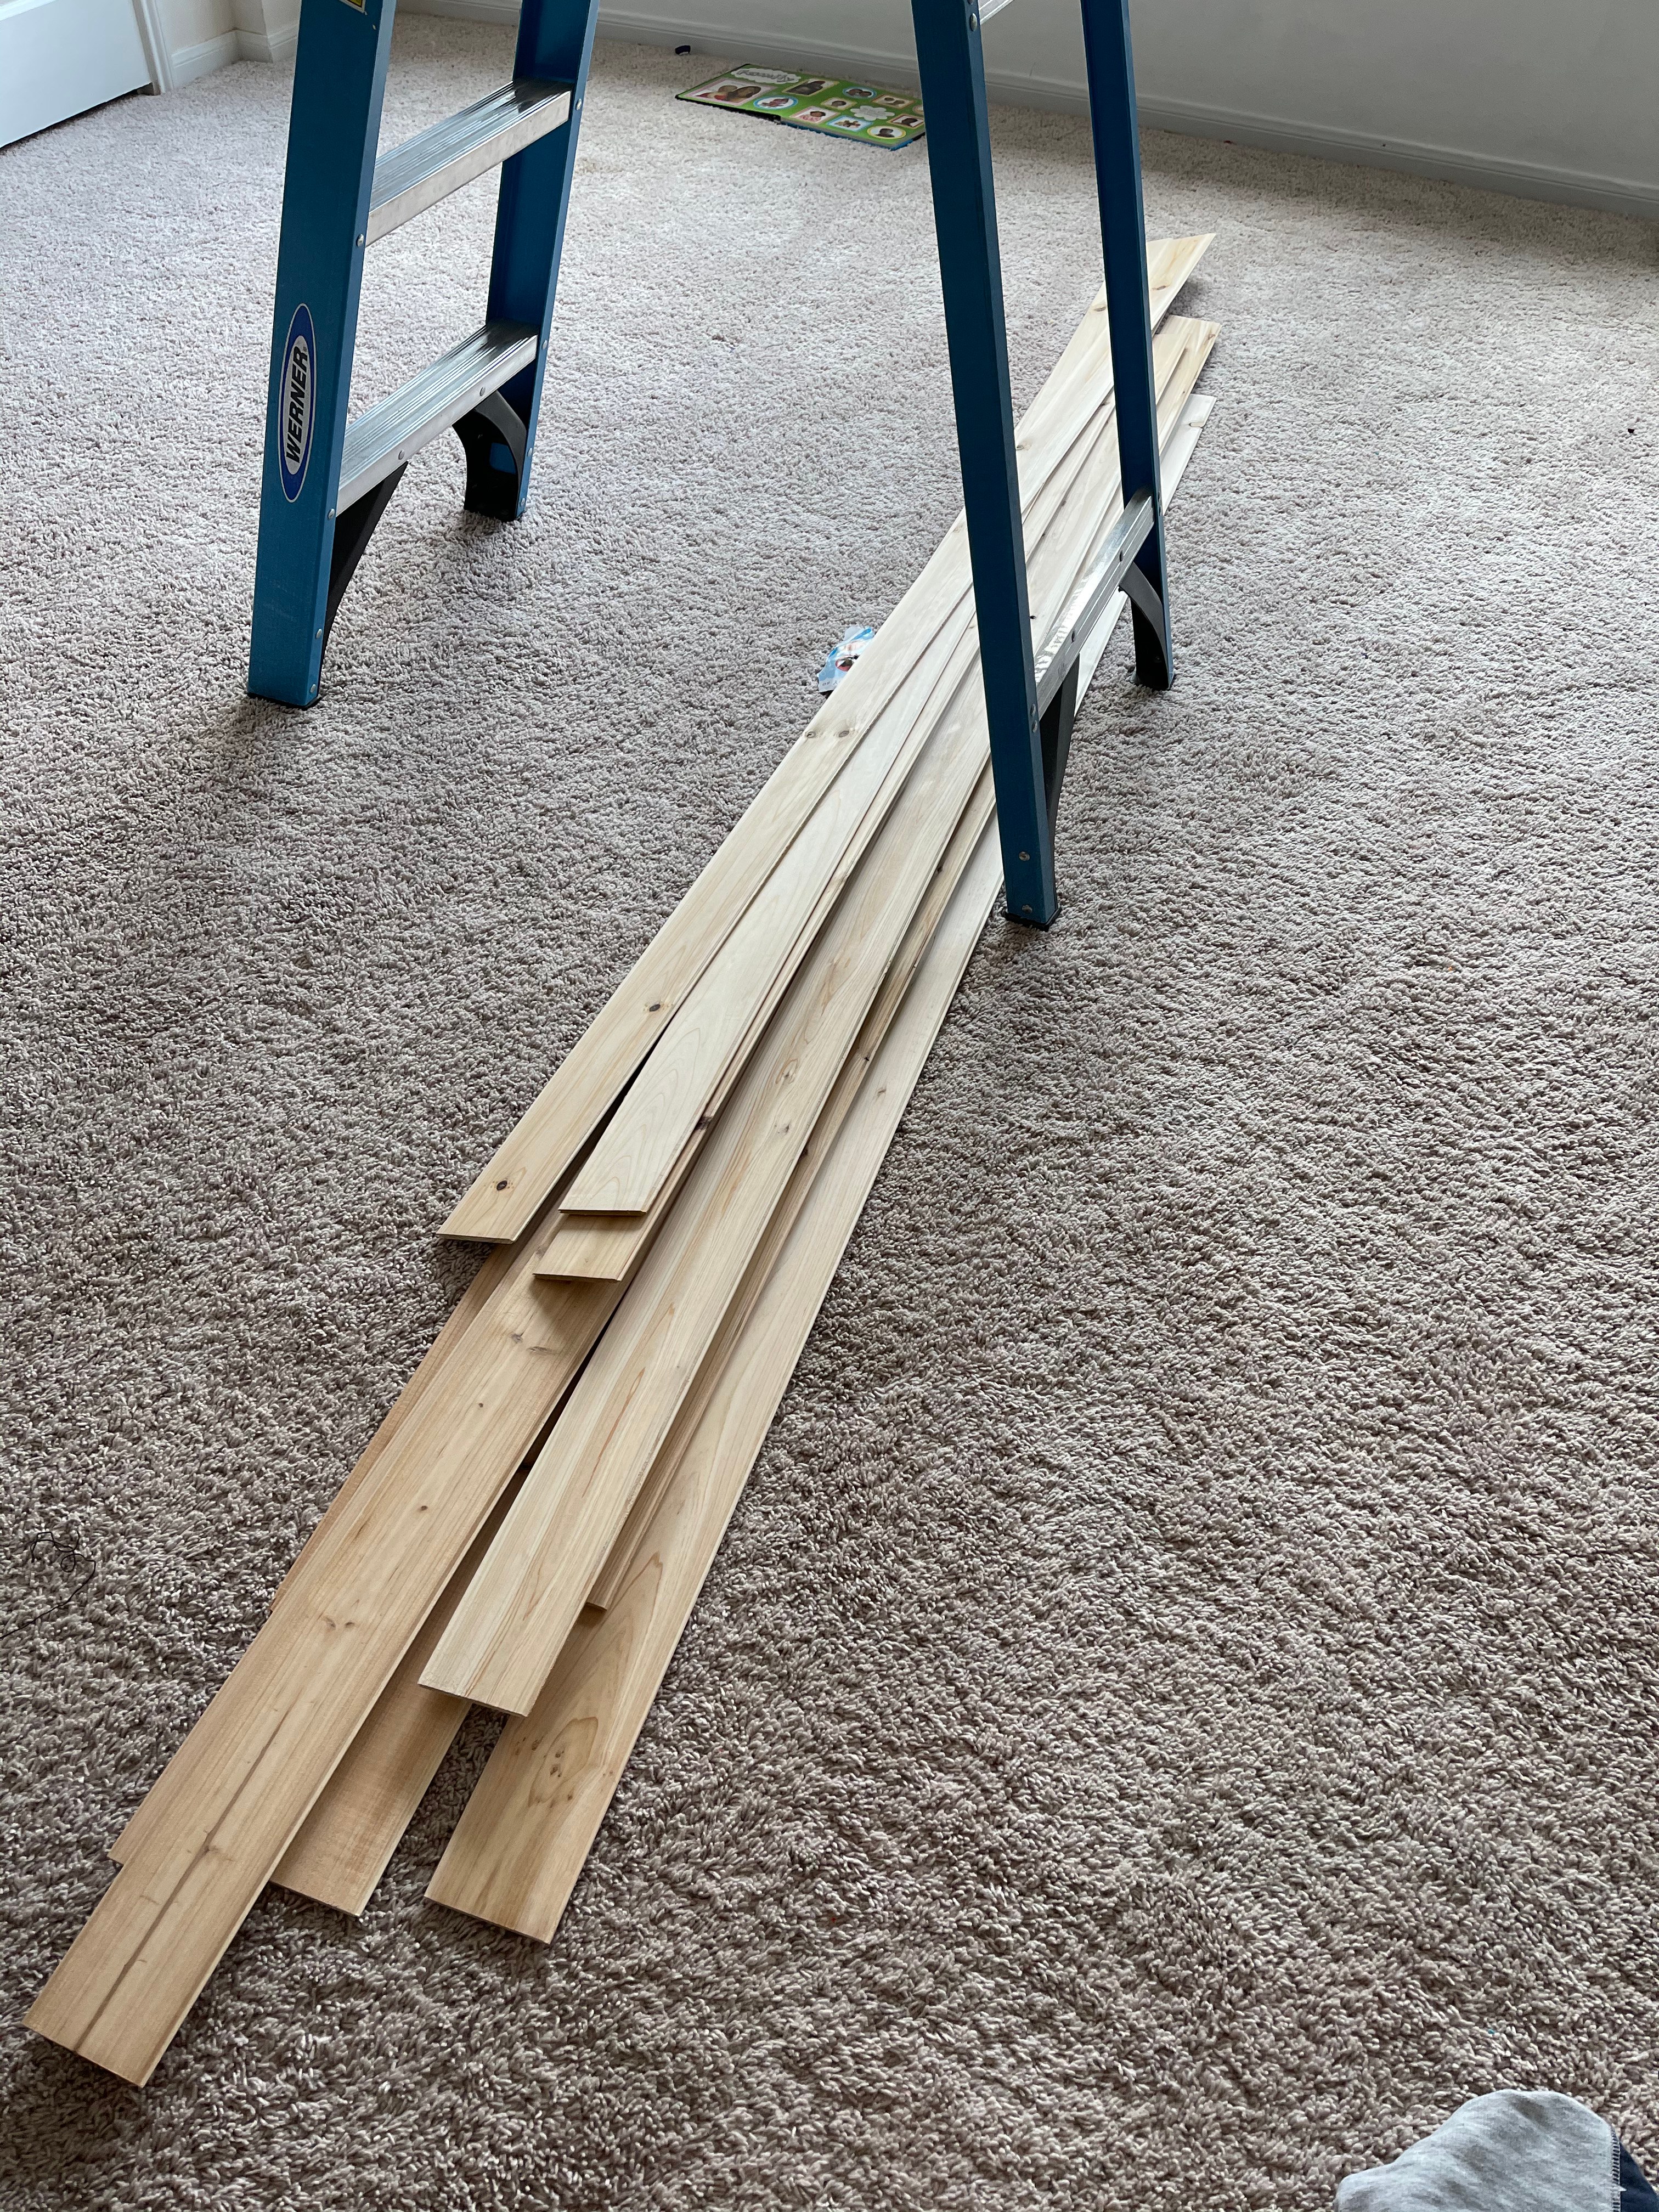
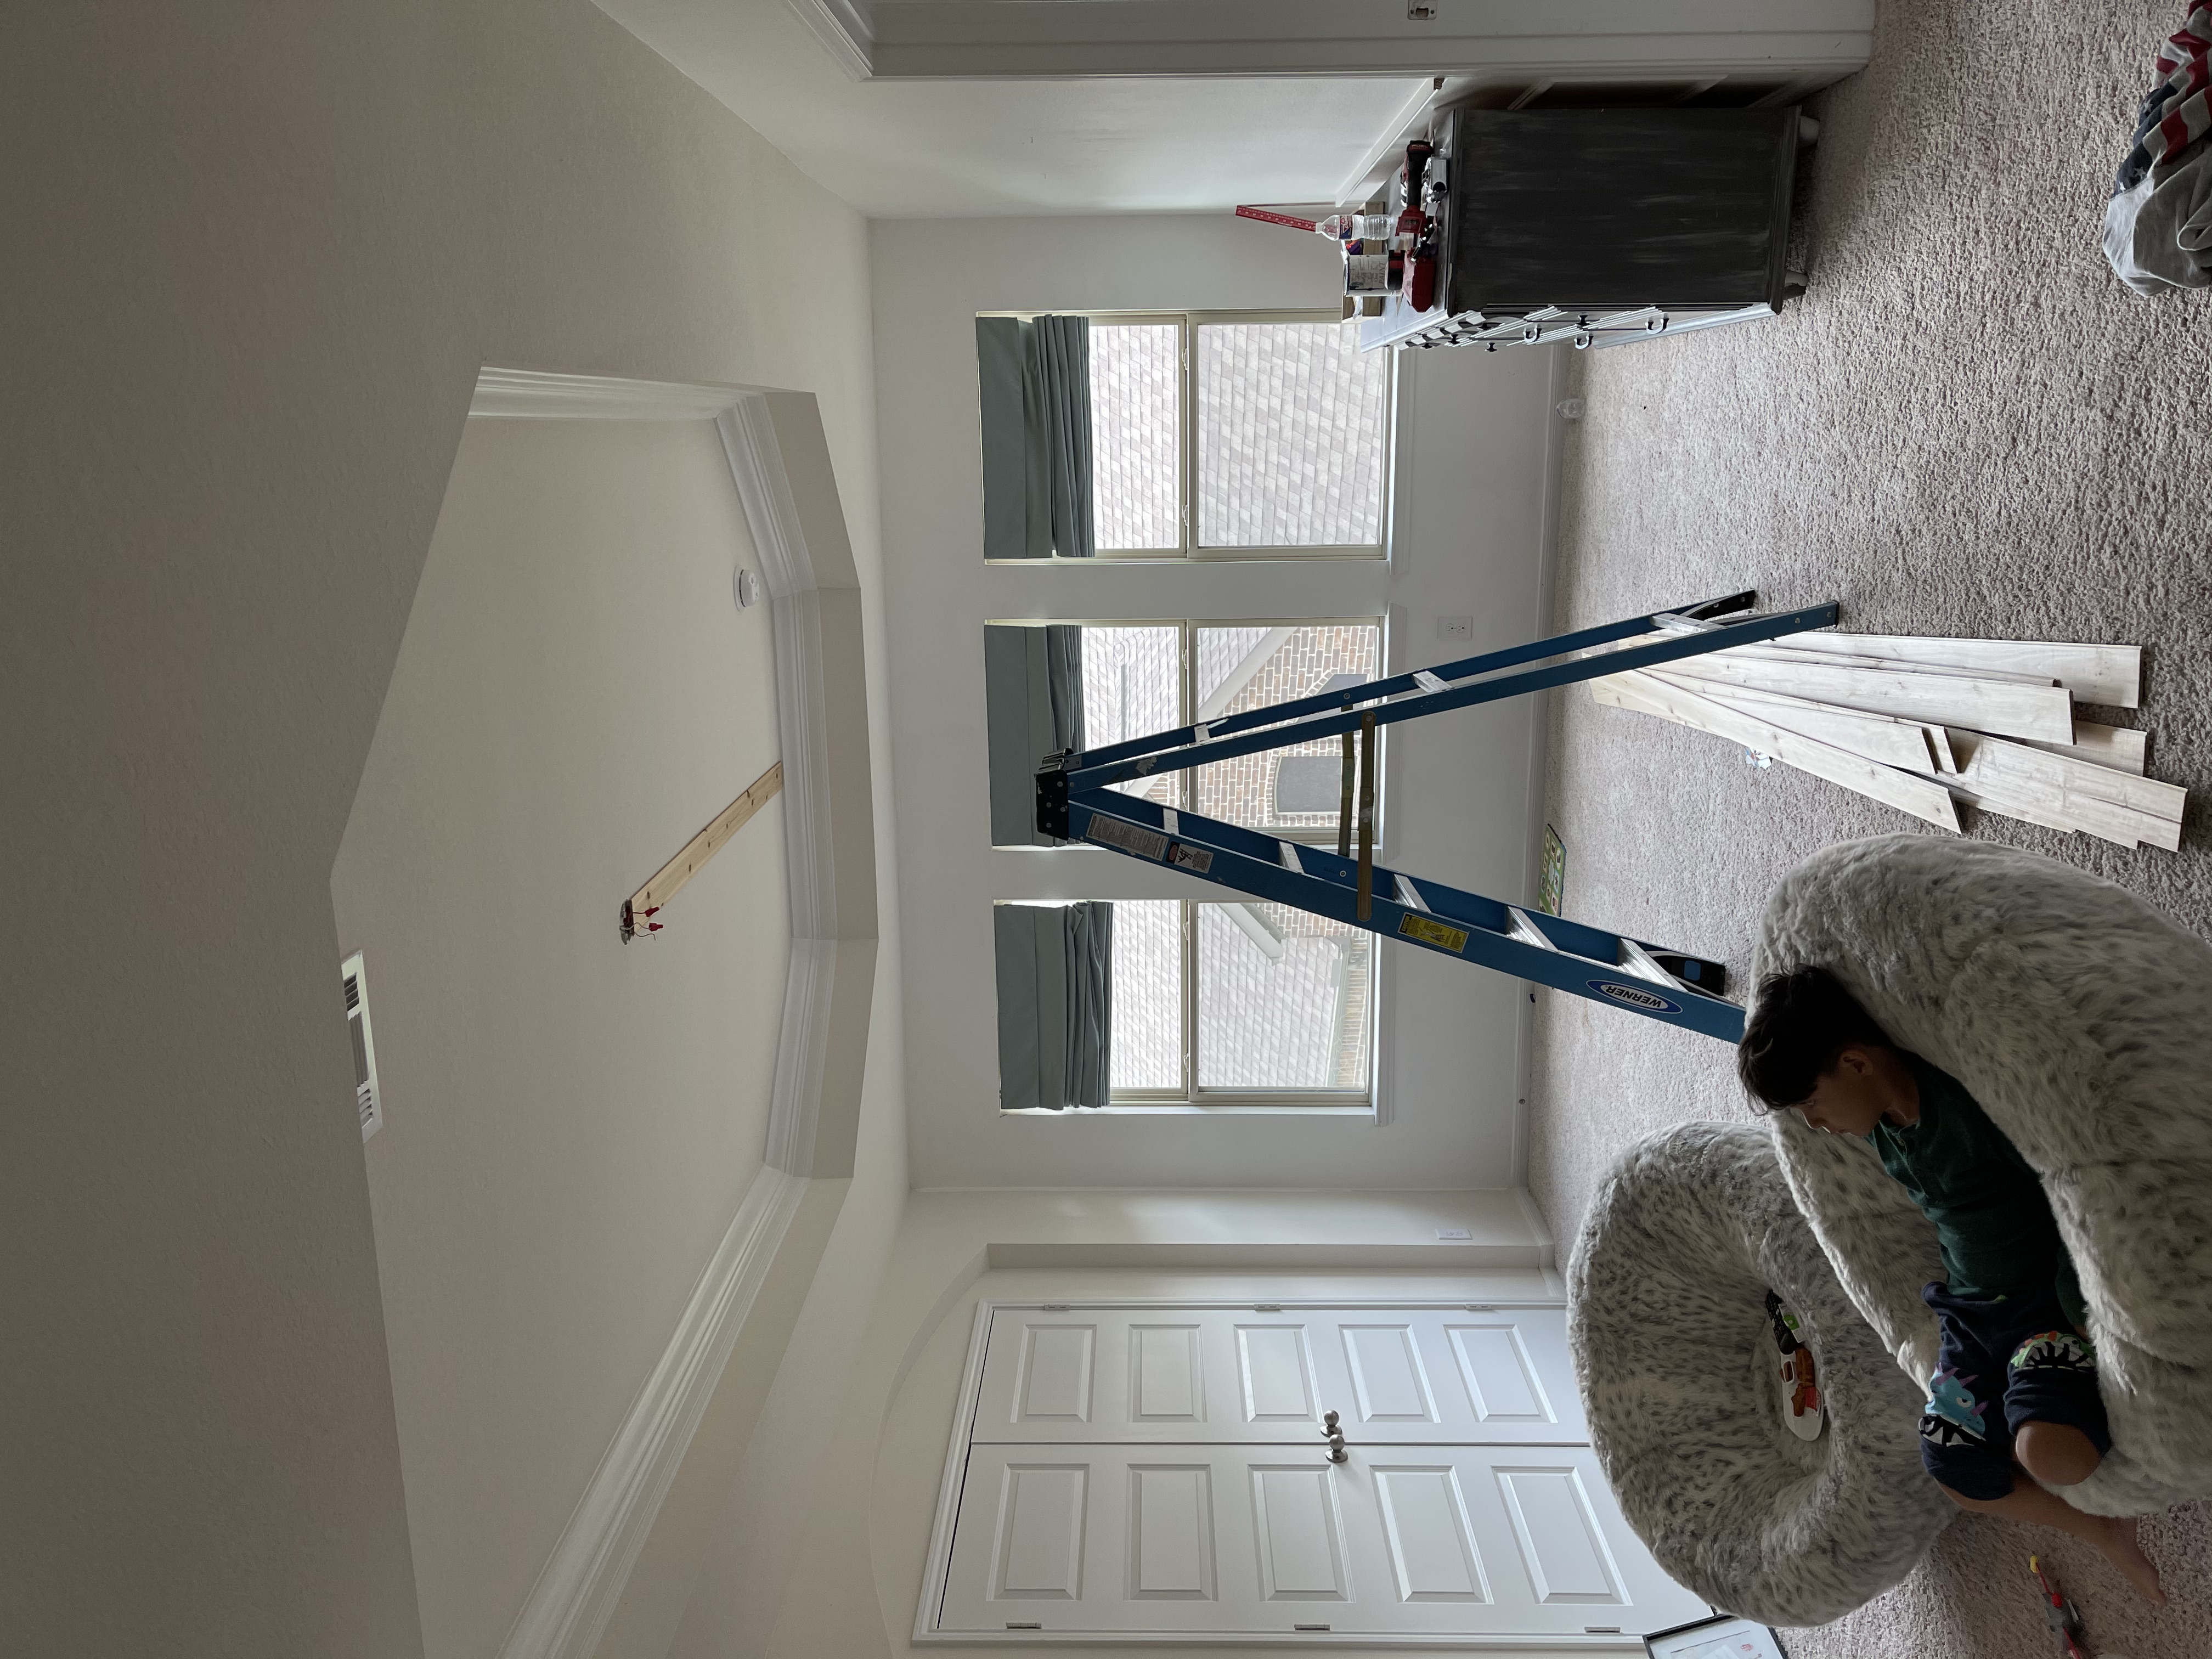
I wanted my ceiling to look symmetrical with the wood planks. I didn’t want one end of my ceiling having an entire piece of plank and the other side of ceiling have a small strip of plank. After staring at my ceiling for a while to try and figure it out how to get it symmetrical I decided to bring out my math skills, which I will admit to you are not the greatest, I can get by. After some math figuring, I felt like I should start in the center and work my way out.
So for me the next step was to figure out the center of the ceiling, which was a project itself! Finally after completing that math task, I was set to start. I got my first wood plank up and it felt AMAZING I must say. I felt like I was so close to finishing. One by one I got planks up, make sure you use your level for the first few planks after that its kinda hard to mess up from there. You can just start applying liquid nails and nailing the planks up with your brad nailer.
Don’t go too crazy with the nailing, liquid nails will take care most of it. Less nail holes the better. Depending on how long the board was I would give a nail on each end and a couple down the middle.
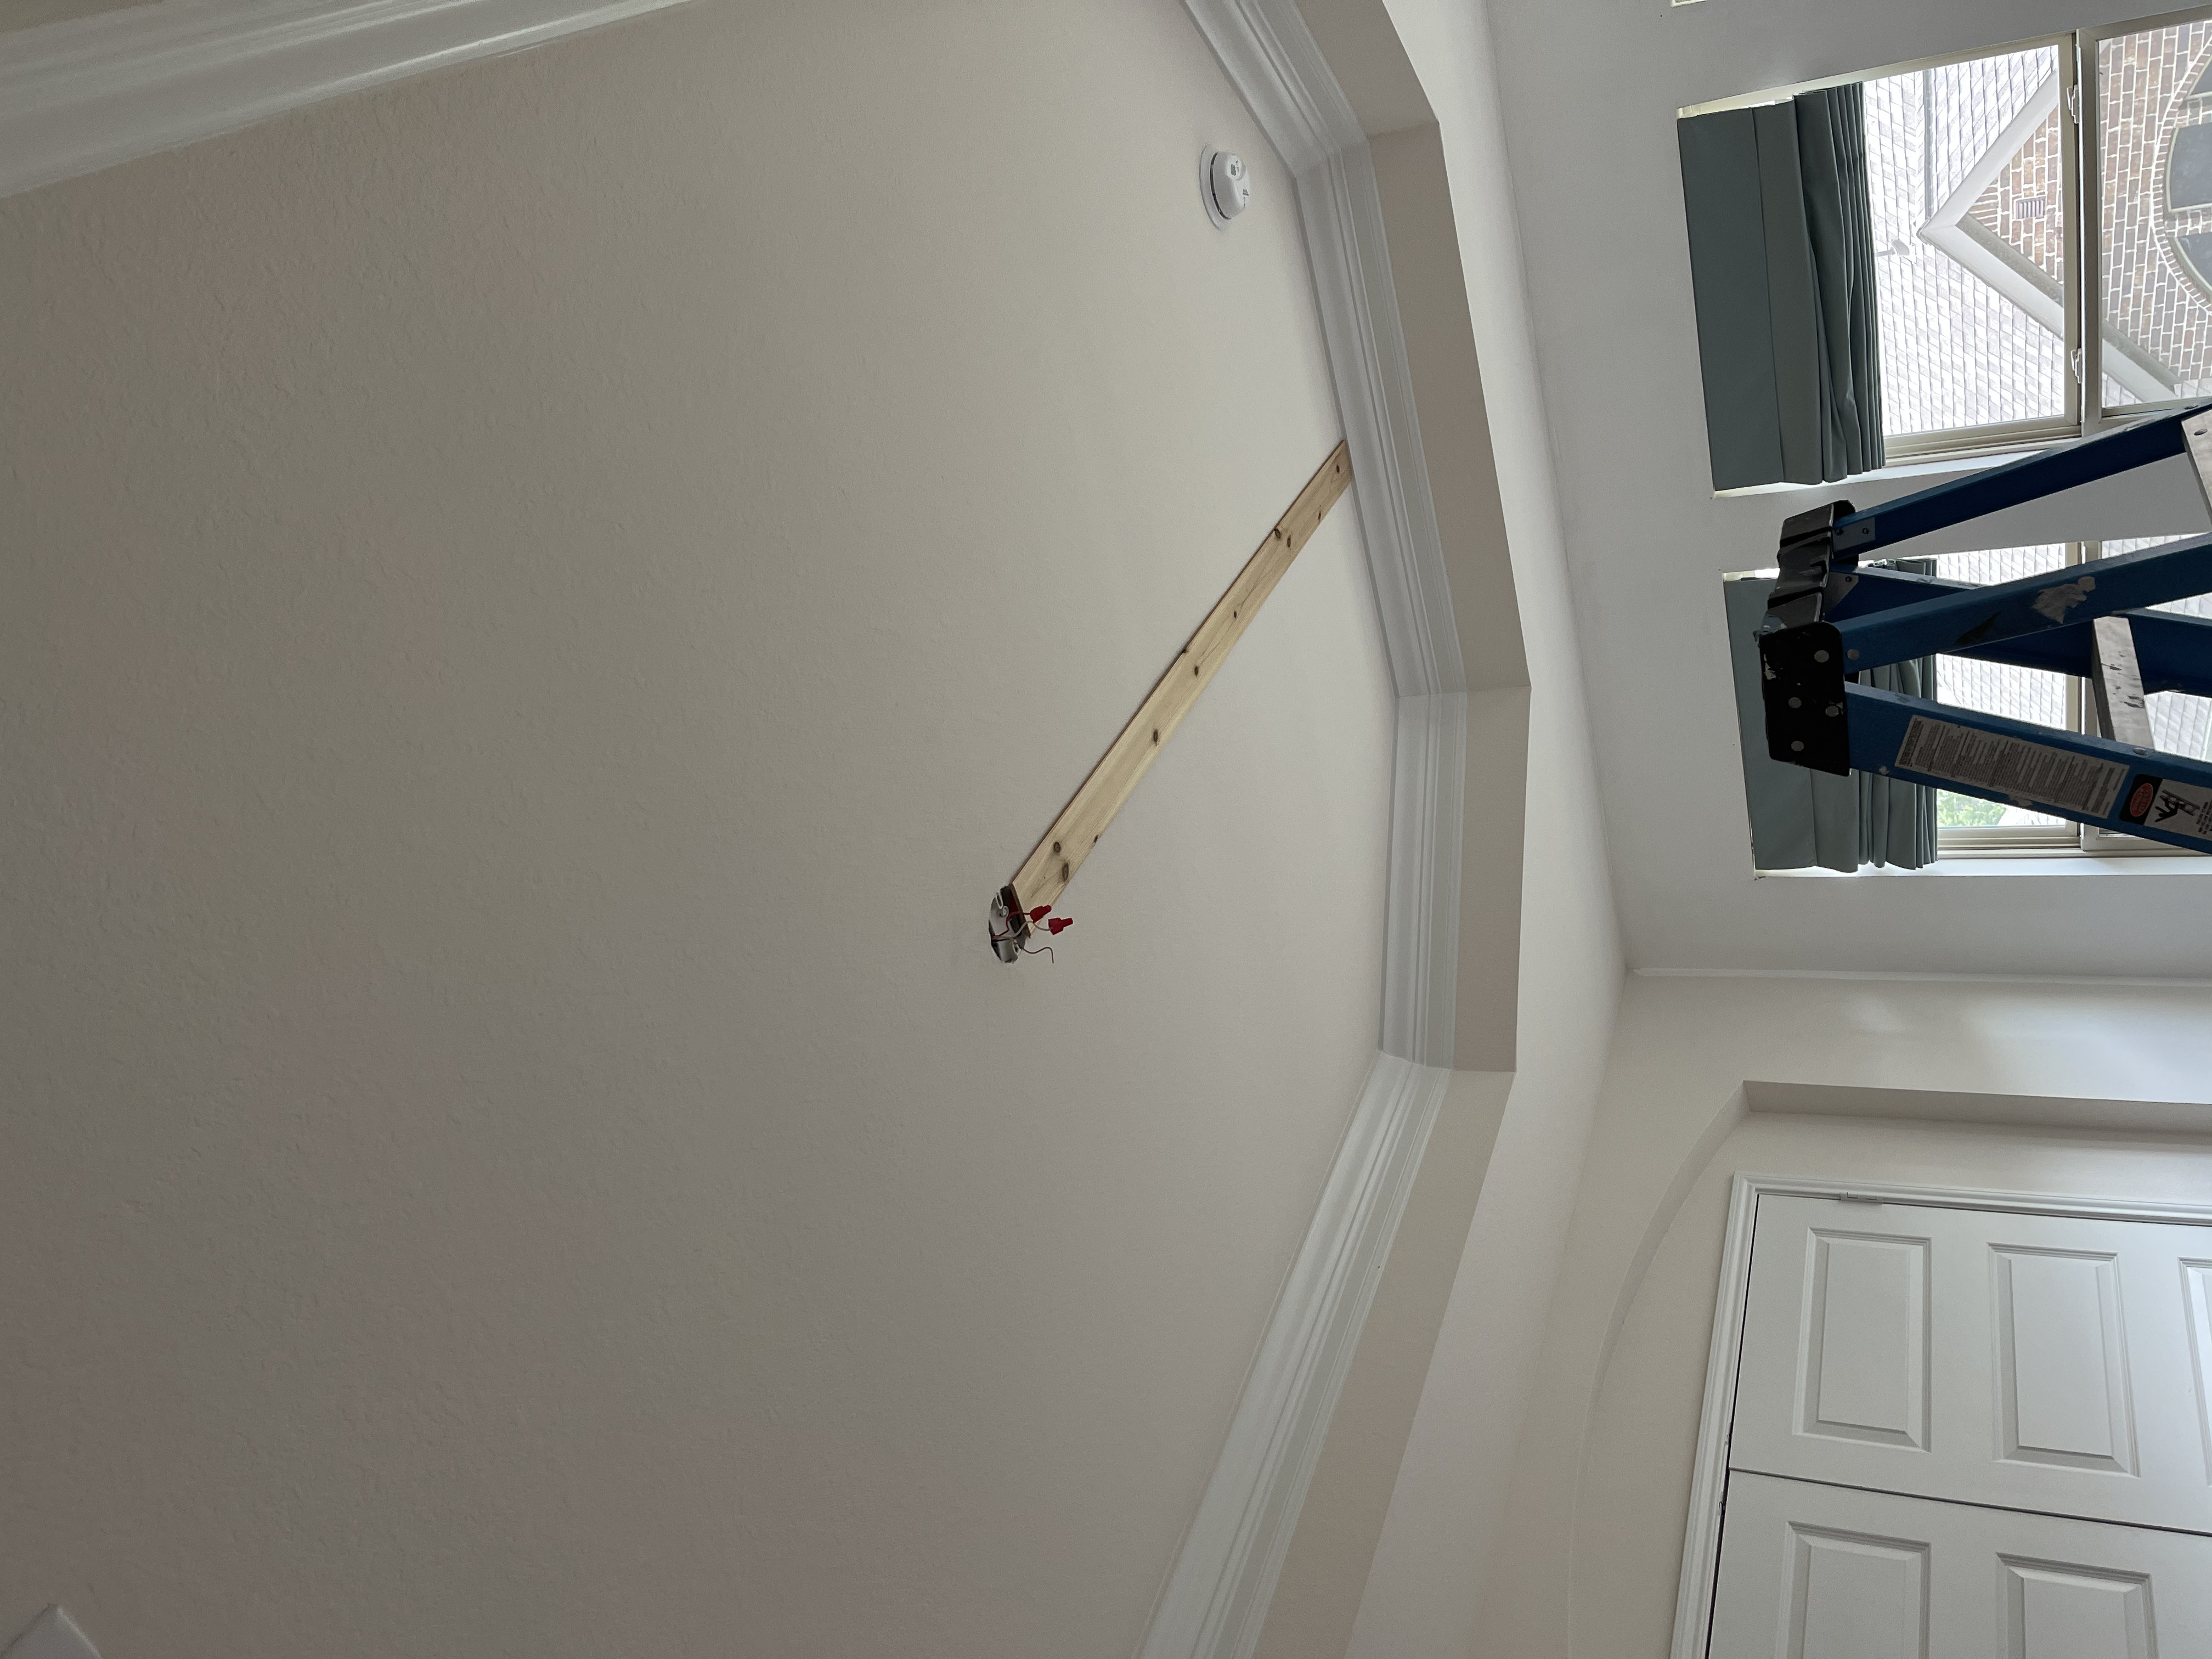

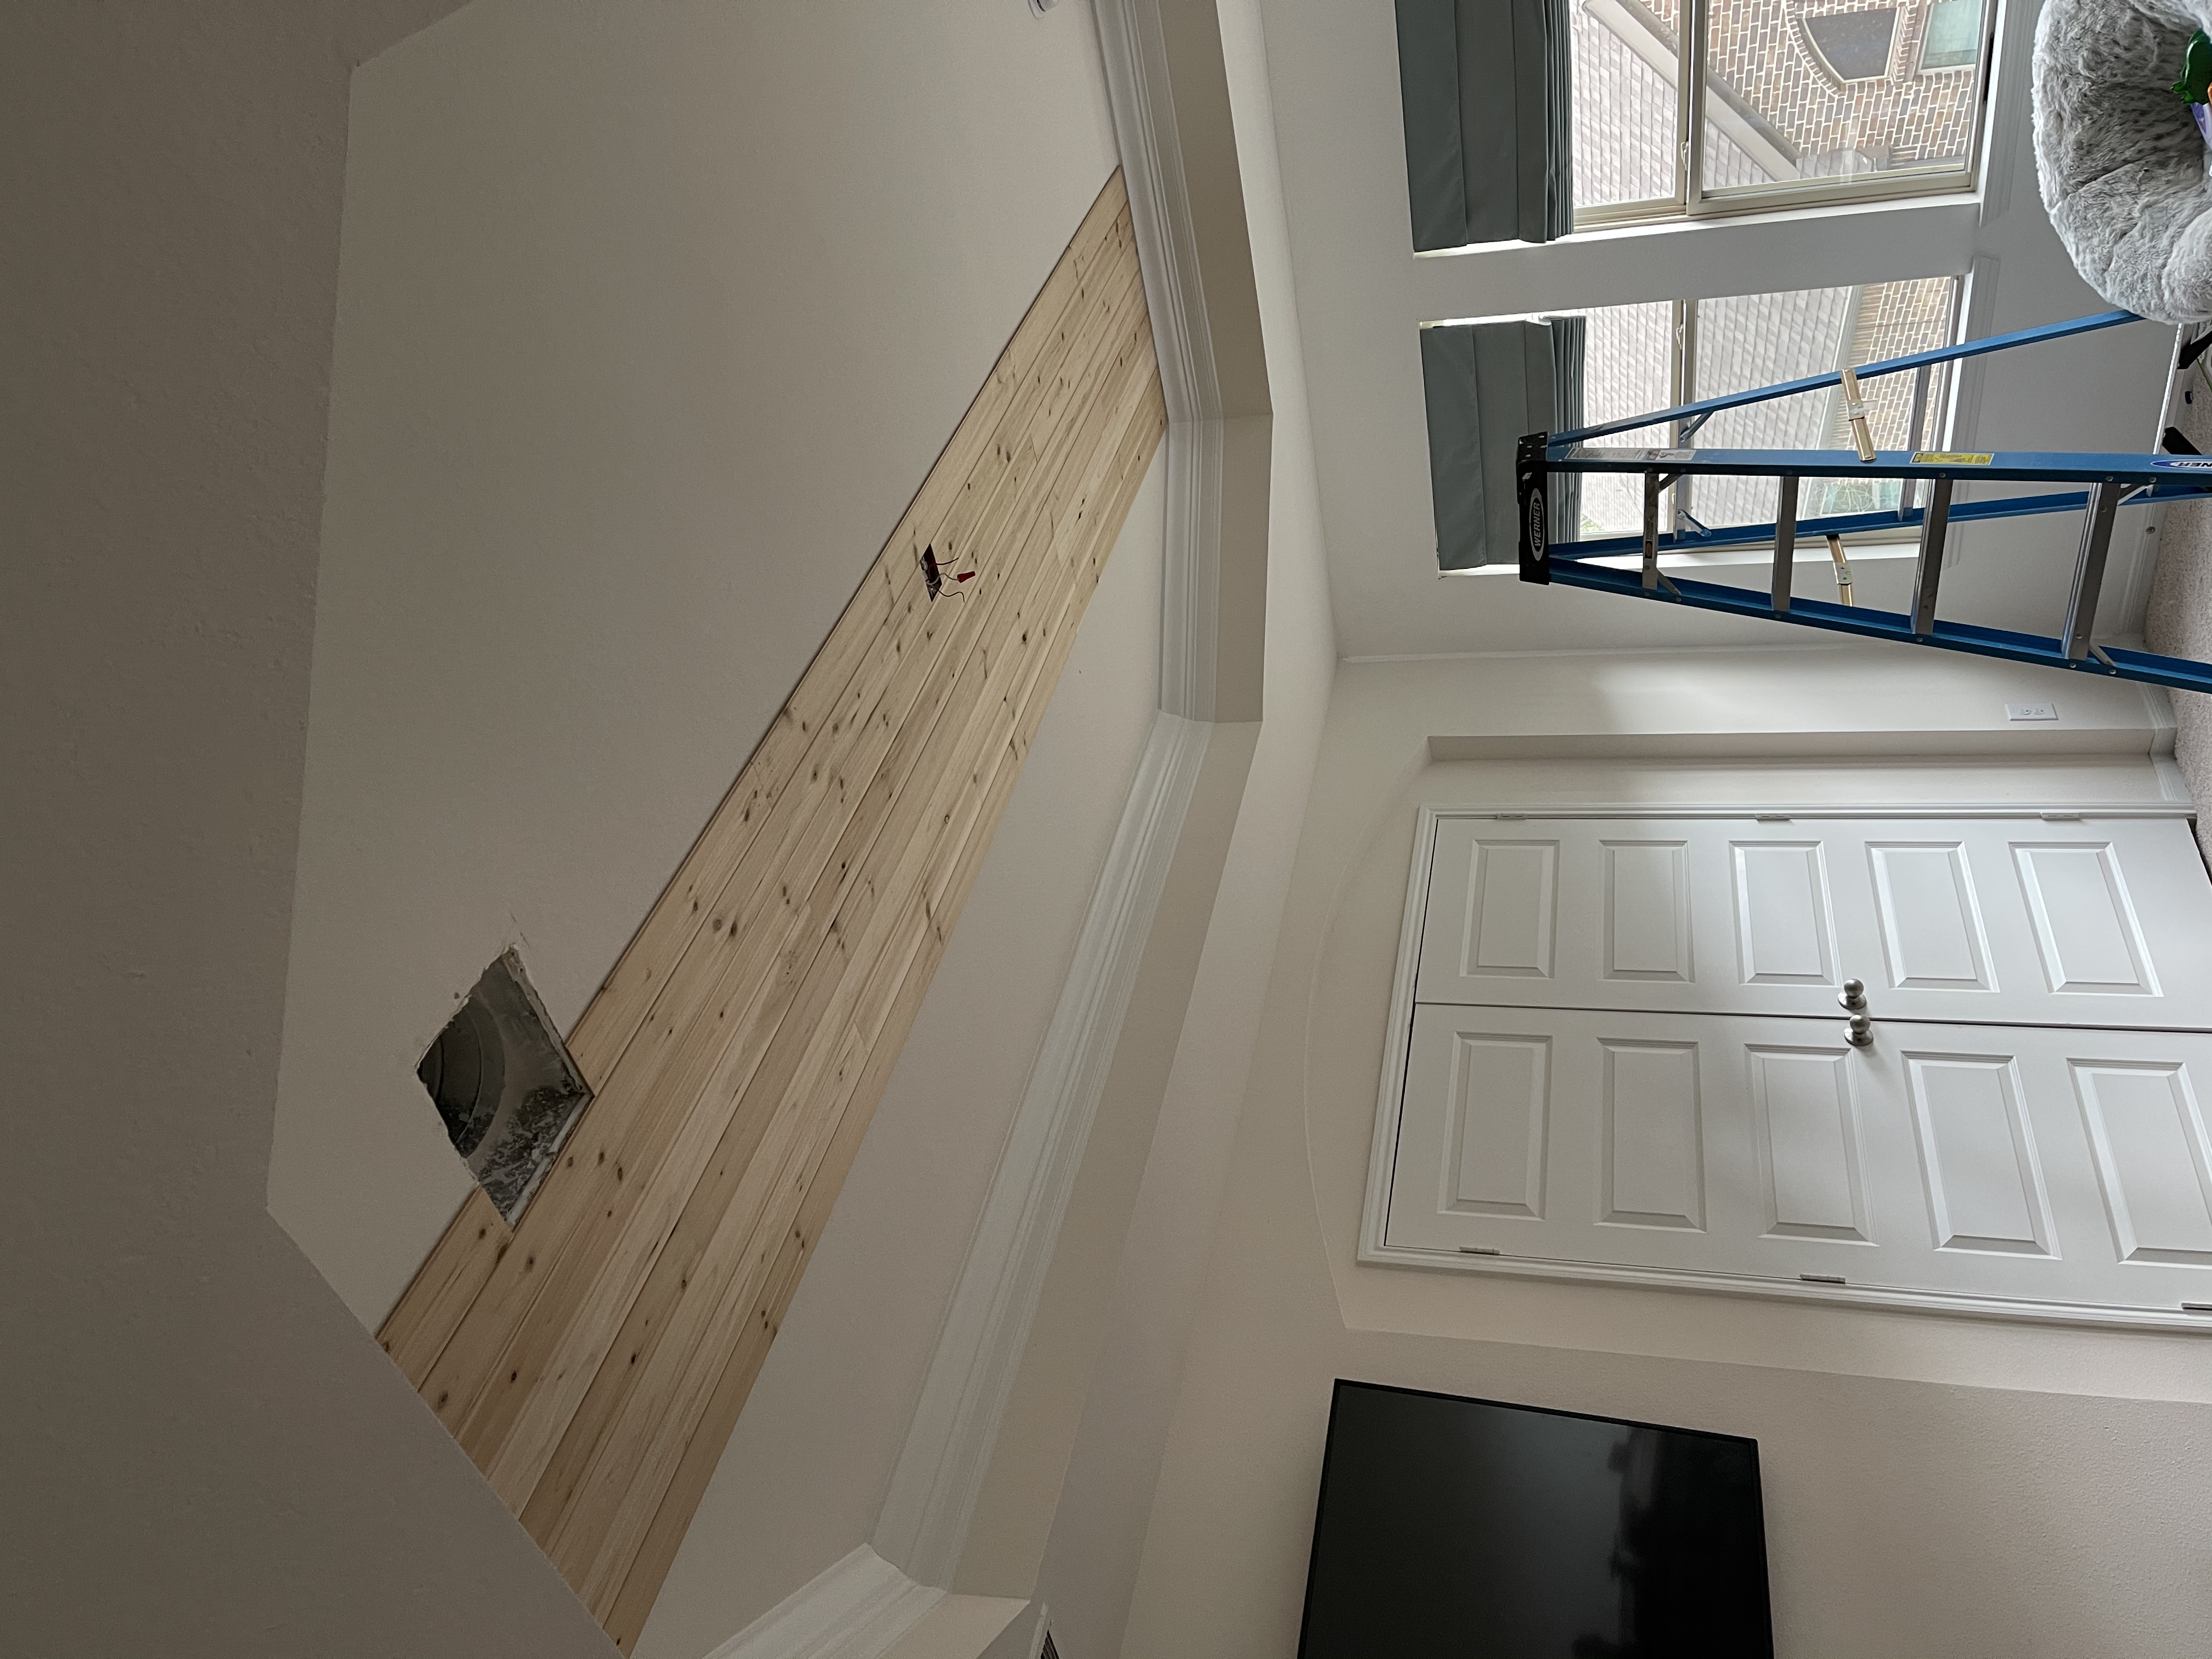
Starting in the center I worked my way to completing one side first. I did decide to stagger my planks and use different sizes and mix wood grain up a bit and this also help save with cost since I got to use all of my planks. ***Note to add: you might want to buy an extra package because quite a few planks weren’t straight.**
Now that the easy part was done I have hit the part of the ceiling that is angled. Brought out my little angle gadget and after determine the angle I started mitering the plank ends so they would fit since my ceiling started to go at an angle. One issue I kept running in to was the tongue and groove boards were sometimes hard to get one into another. To solve this I would get a scrap piece of wood and hold it up to the plank you wanted to get in and use your hammer to lightly hit the scrap piece so it will push the plank you want to catch into the other groove of the other plank. YOU DON’T WANT TO HIT YOUR CEDAR YOUR USING WITH JUST YOUR HAMMER THIS CAN BREAK, DENT, JUST COMPLETELY MESS UP YOUR PLANK.

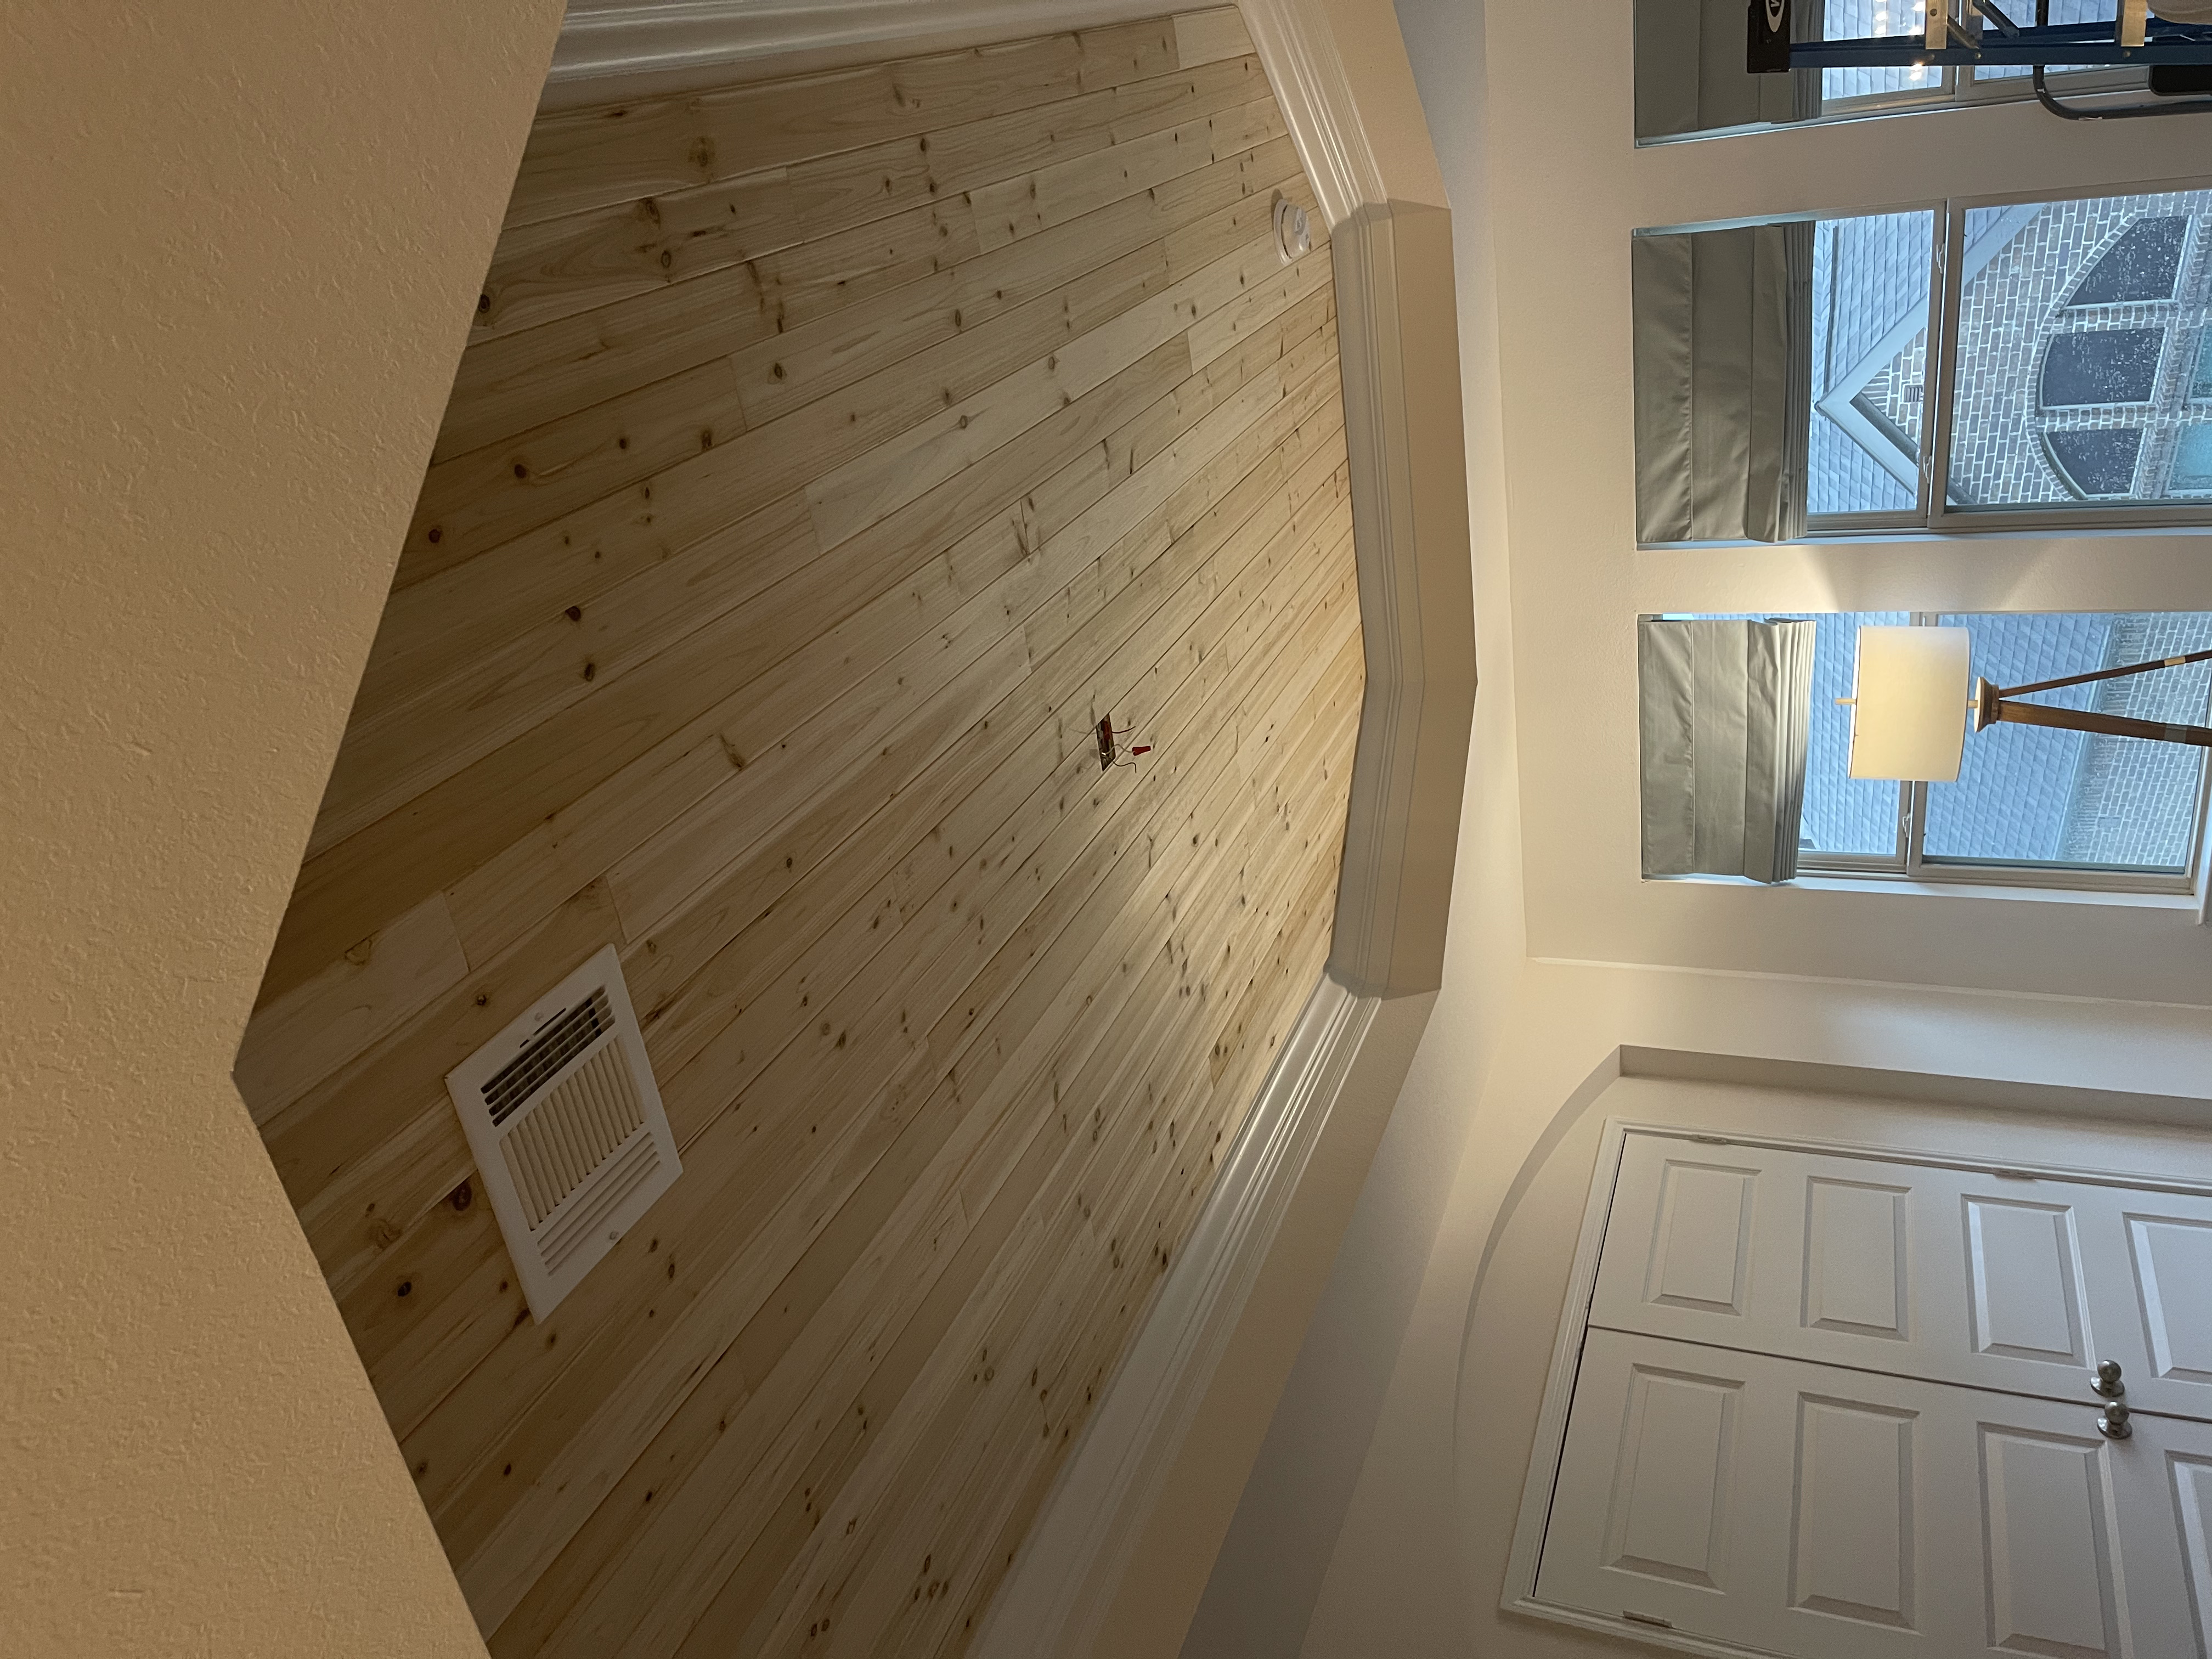
Halfway done!!! By this time I am pretty exhausted wishing my husband was home from work to help but I must admit It feels good to be able to show my husband what I did without his help. HEHEHE. Exactly what I did to the right side of the ceiling I did the same to the left side. Before I knew it I was finished. Love Love Love how it came out and once this room if fully completed I will be sure to update photos!


If you happen to conquer this project post you before and after pictures in the comments, or you can just email me a picture and I will be sure to post it!

